
Of the tiny variety, of course.

Yum, yum!
Of the tiny variety, of course.
Yum, yum!


Enjoy!
I was not sure exactly what to post the last couple times so I just didn’t.
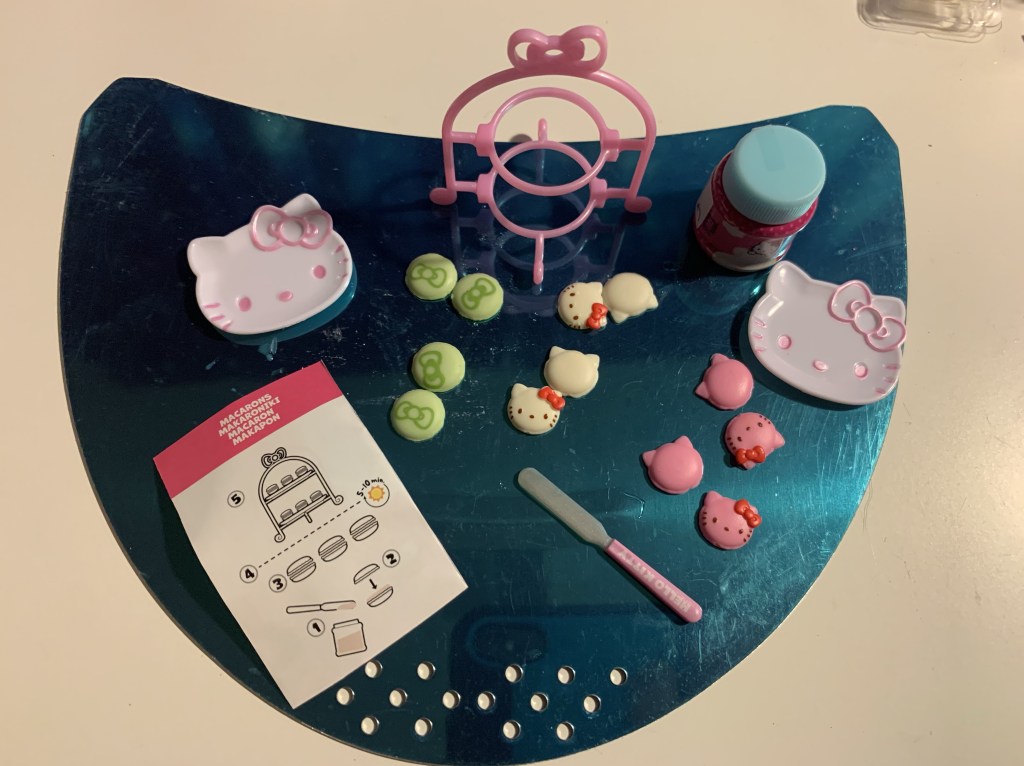
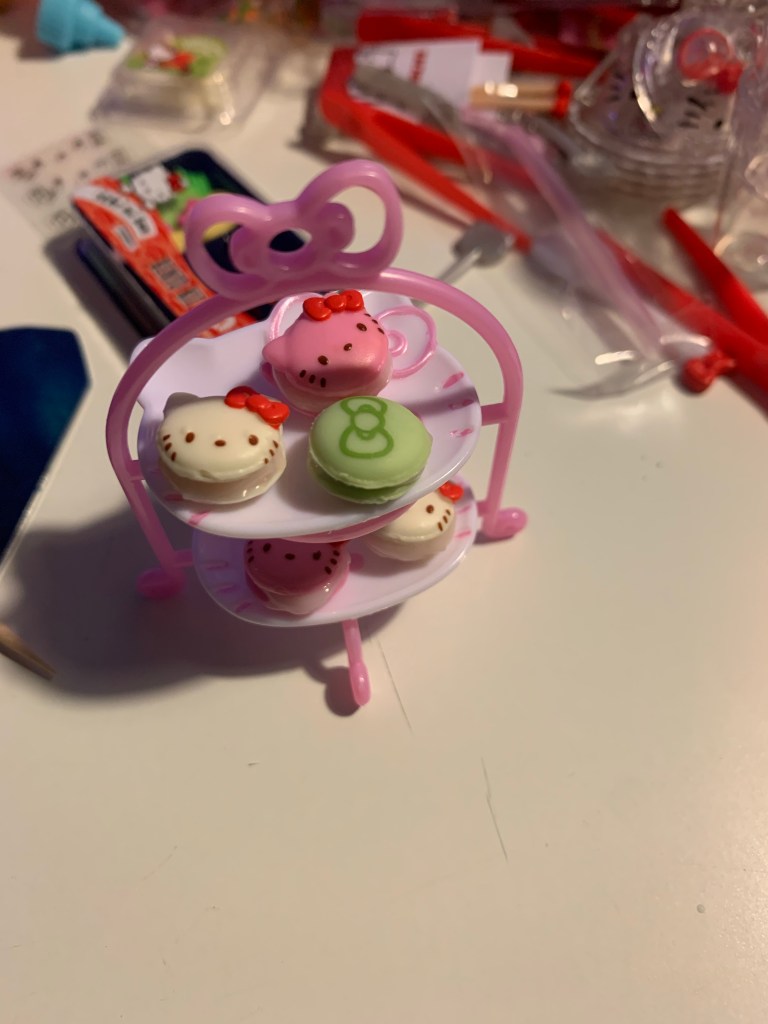
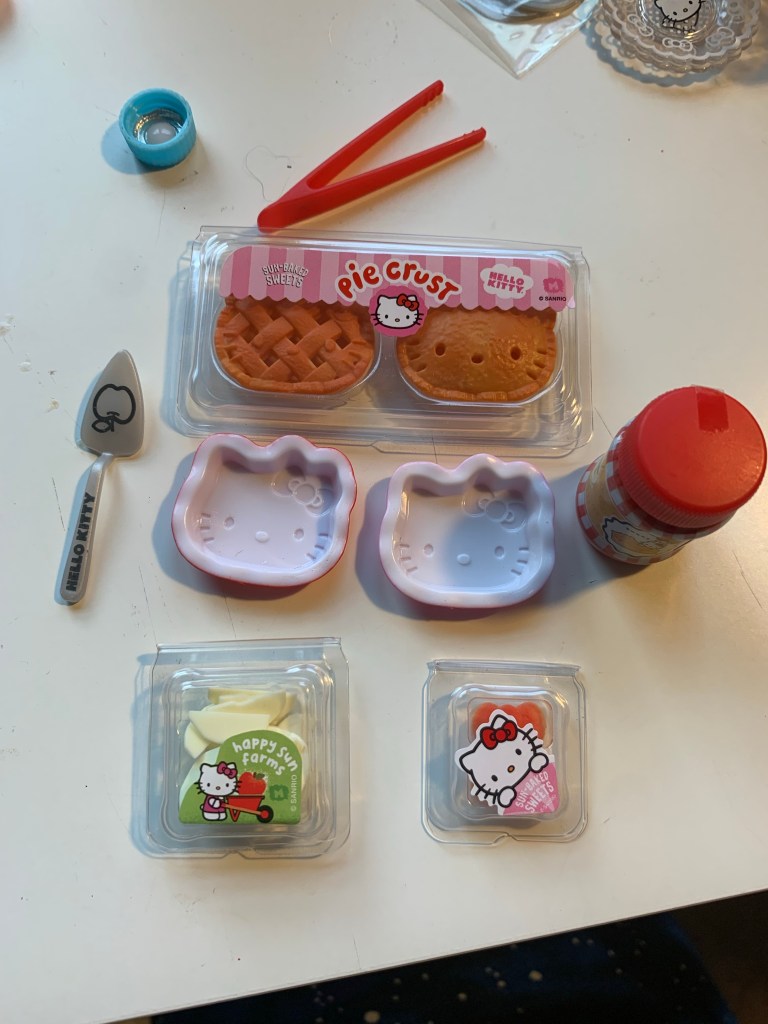
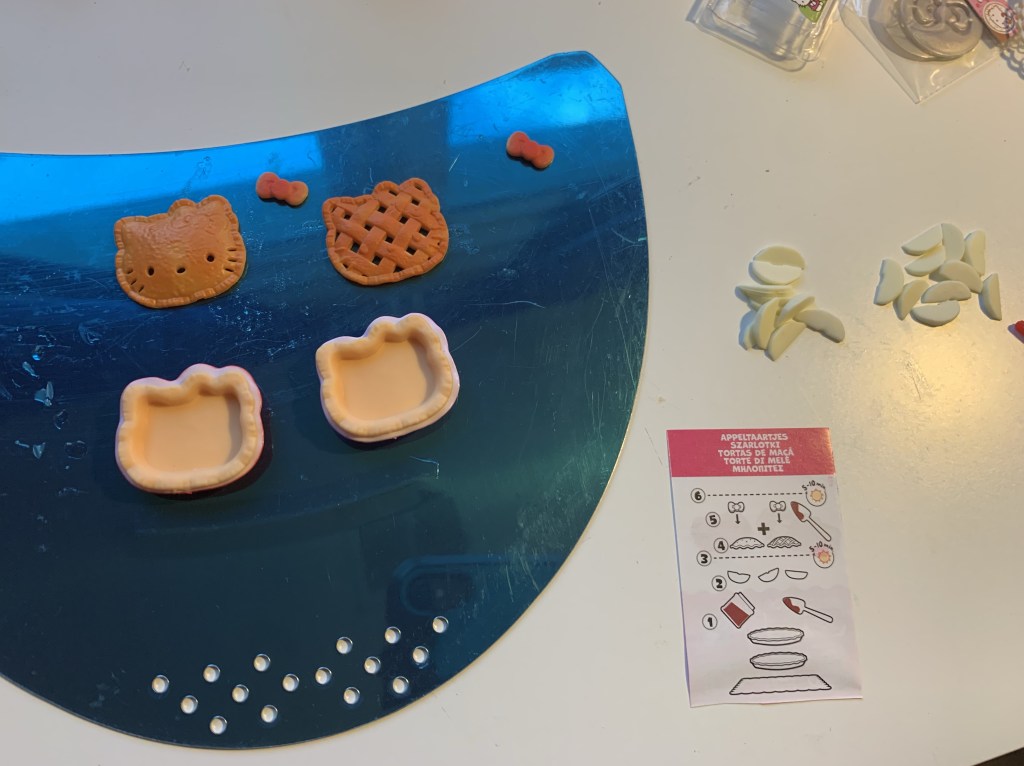
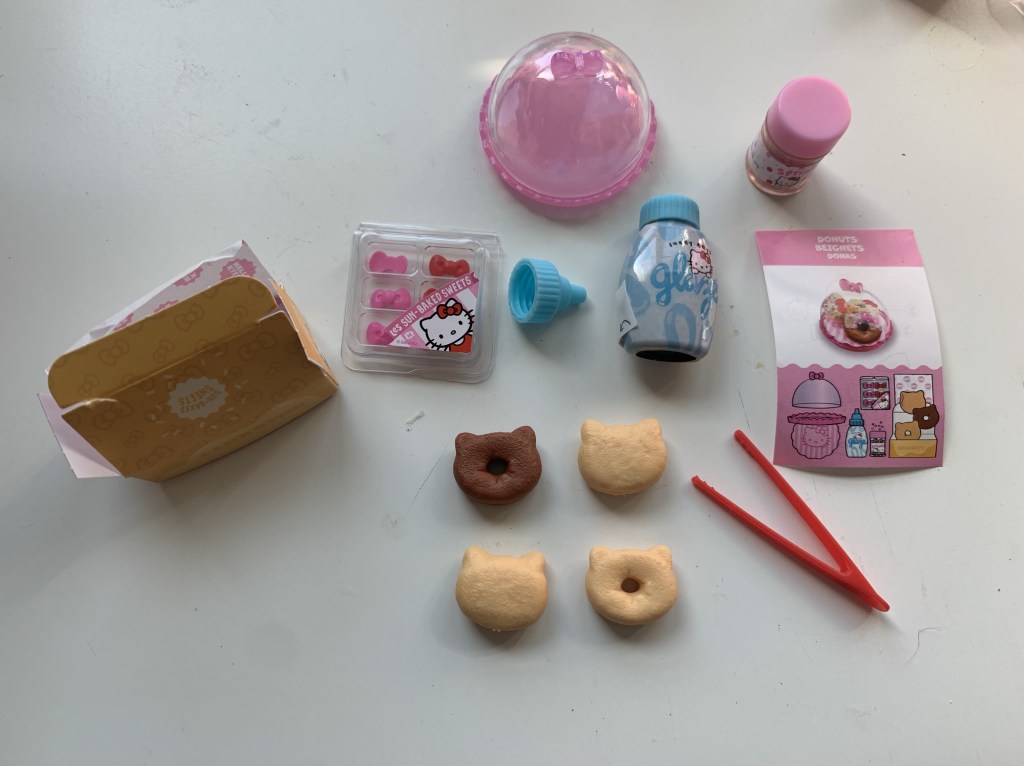
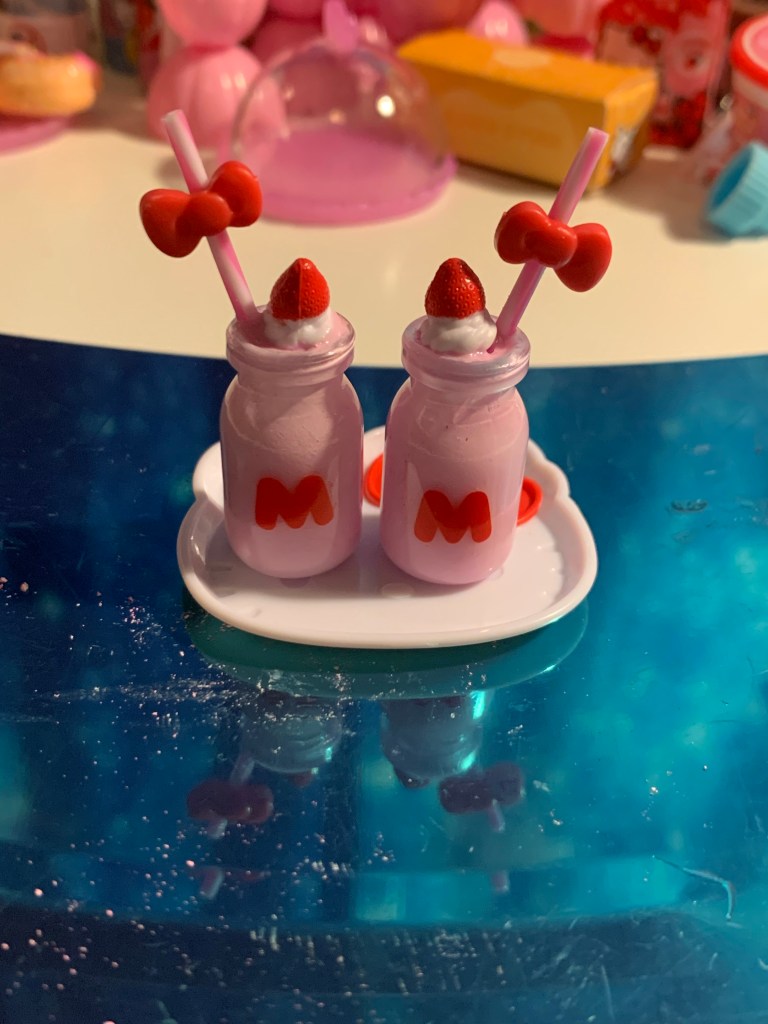
Here’s a pic of tiny things!
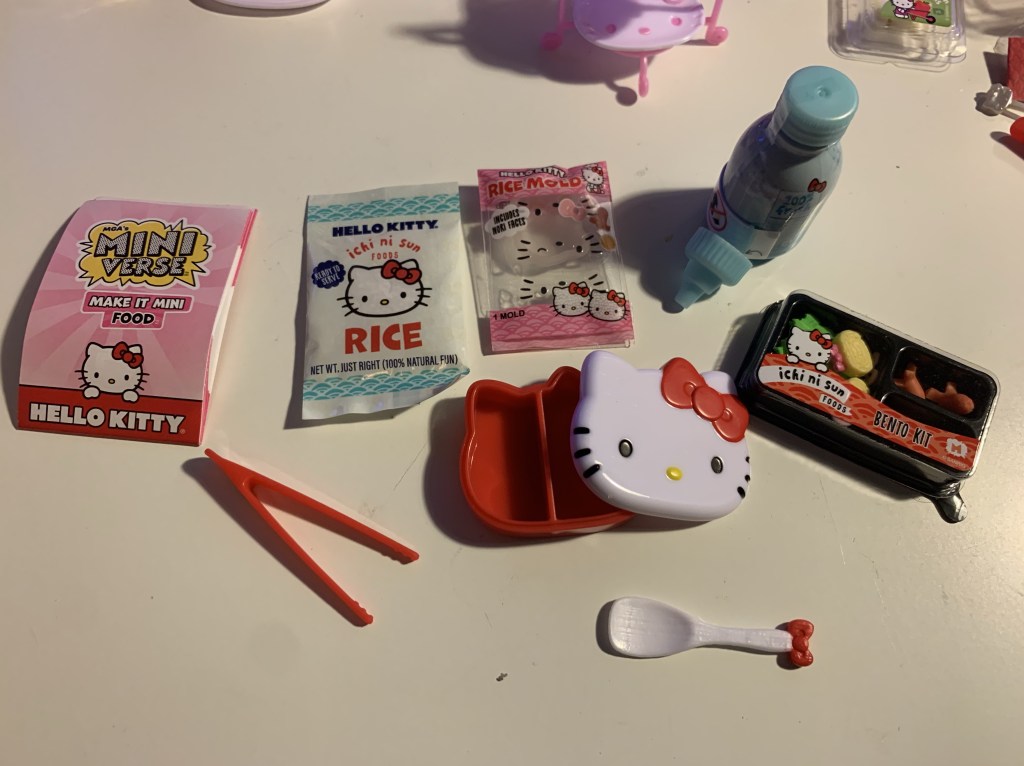
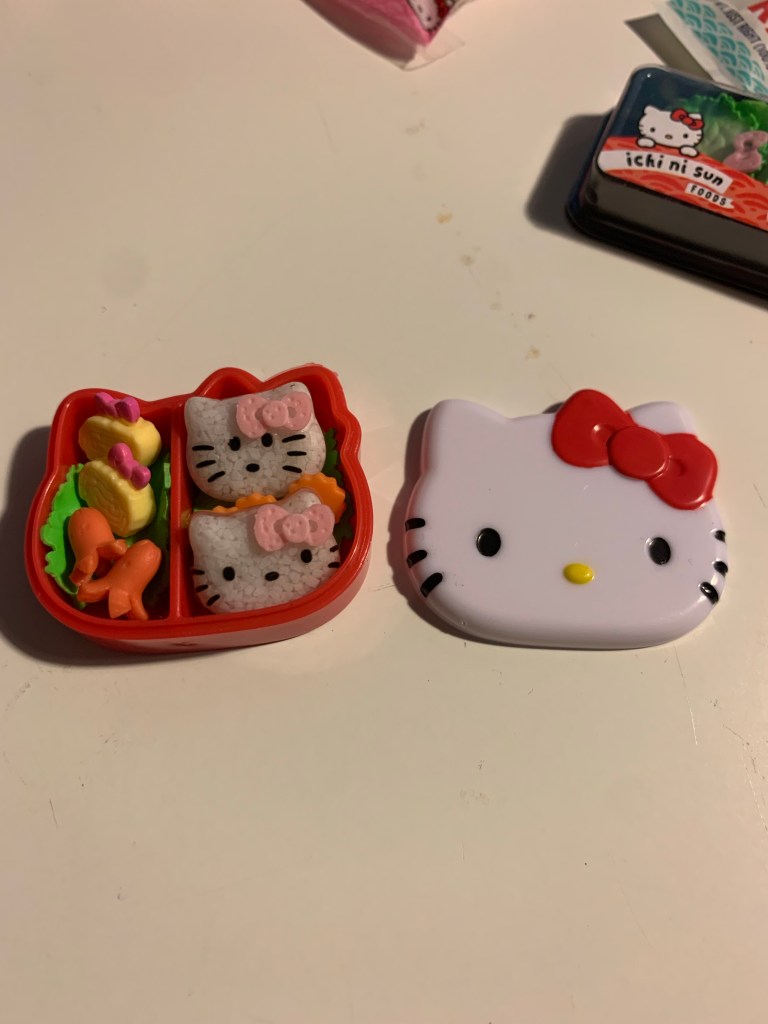
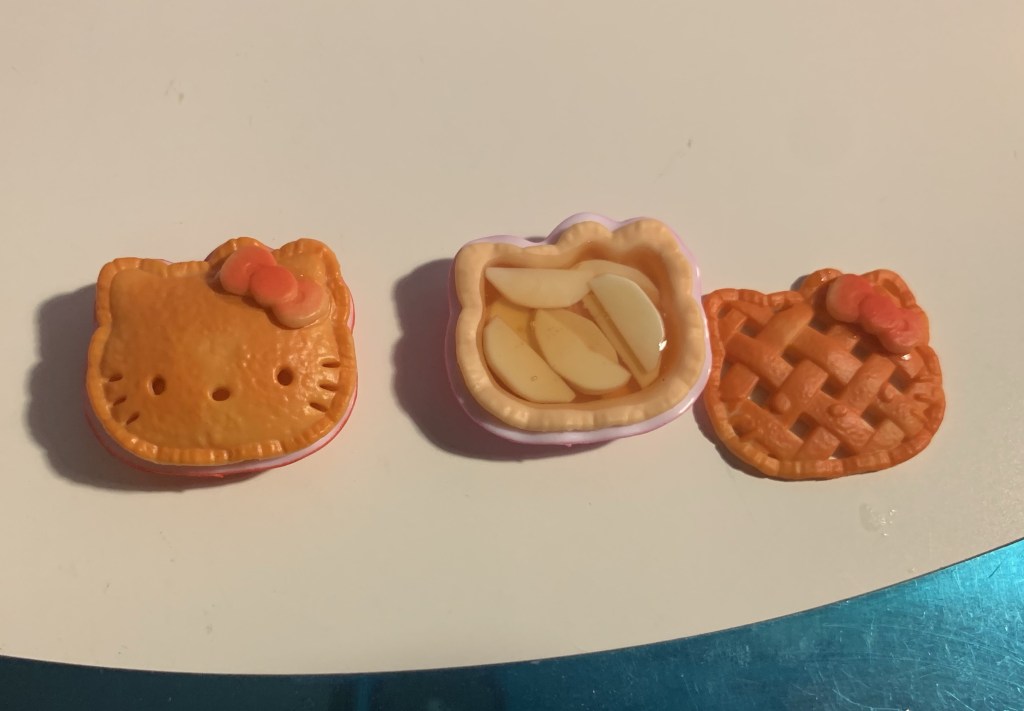
Tiny bento!
The top ones face was a tad off since I wasn’t sure how to use the sticky face to adhere it, but I actually like it better than Hello Kitty’s!
Till next week!
Our thoughts and prayers are with the Kirk family during this time.
This type of violence is abhorrent and should only ever be condemned.
MiniVerse now has storage and display sets.
I fit SO much on and in these tiny things, it’s ridiculous!

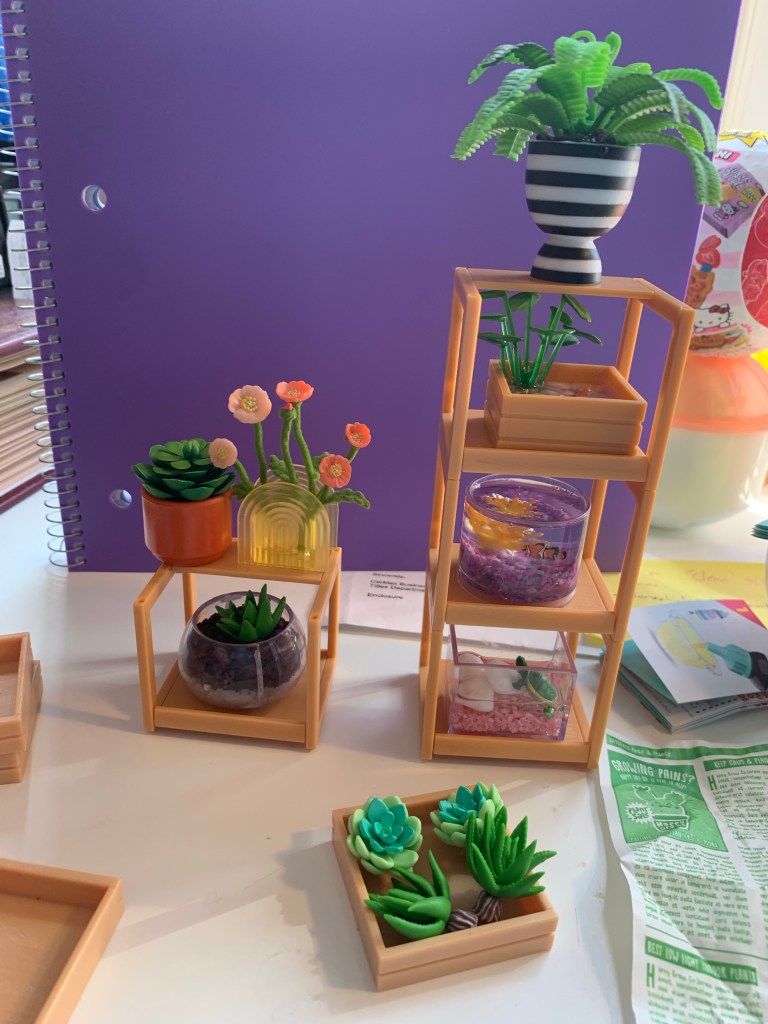

Till next week!
Okay, so I really shouldn’t have been concerned about not having anything to post.
I decided, while updating my Christmas list, that I should go through the Hello Kitty and Lord of the Rings sets I have.
I bought a bunch of them when they went on sale! They were $2!!!
Anyways, if I somehow didn’t have the entire set then I’d want to add them to my list in the hopes that I’d get whatever I was missing.
So I spent a day opening Hello Kitty!
And finished the entire series!! (Series 1, series 2 just dropped and I’ve only gotten one of those so far).
Being Labor Day week, I plan to use my extra day off to do the same with Lord of the Rings and see if I have that completed too!
Only thing is I’m running out of space for my extra, tiny supplies…
🤔
Gonna have to think about that for a solution.
Until next week, when I’ll post some of the Hello Kitty sets, have a fantastic and safe week!!
So, it’s late enough in the year now that I’m not supposed to buy anymore books right?
(It’s to make sure my family has something to buy me for Christmas and my birthday.)
And that’s worked for several years now.
However.
Since the advent of the tiny blind bag resin crafty kits, my family has had other viable options for presents.
For some reason they are concerned that I will have collected all of them before Christmas and they’ll be out a present option for me.
So I agreed not to buy anymore until after my birthday.
😑
Yeah. I didn’t think that through.
Anyways, this is background info to let y’all know that I may be doing some book review posts to take the place of the crafty ones.
I still have tiny things to make, but I also need to finish my last scrapbook so I’m caught up.
So much crafty to do.
Until next week, YOU ALL stay crafty!
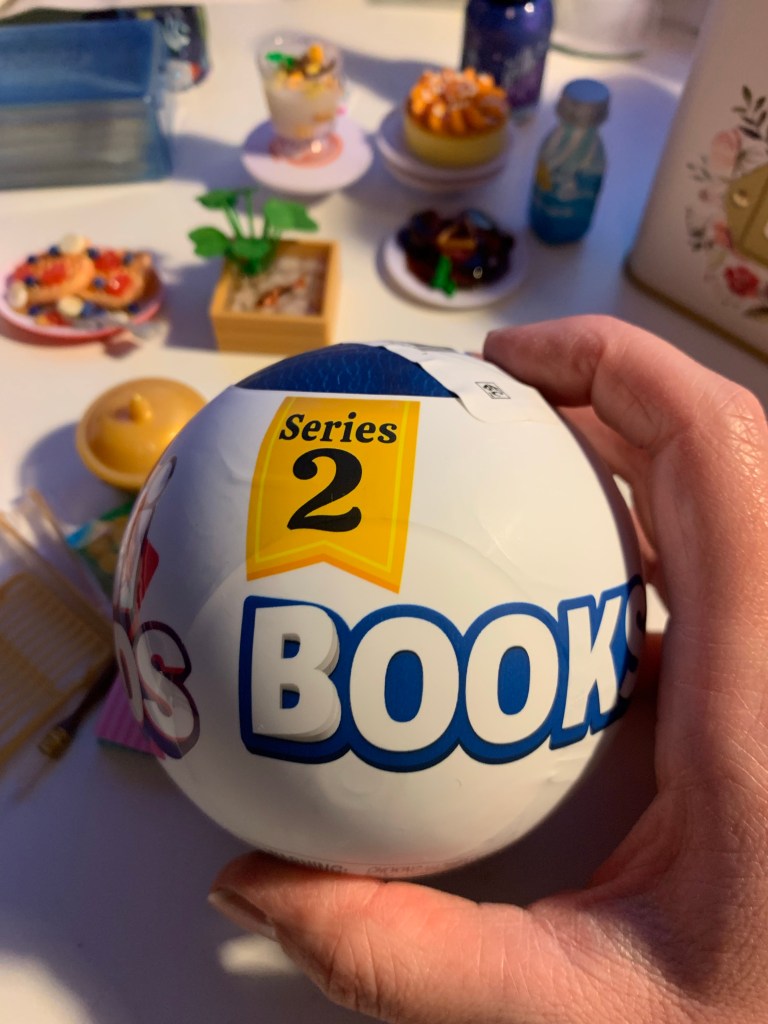
I’d been seeing sneak peaks of this sucker for a couple months and finally got my hands on one!!

Pros: TINY BOOKS!!!!
Cons: they, for some ungodly reason, decided to add ‘bookish’ things to the sets this series.
Now, I wouldn’t have a problem with this except these items have taken the place of the bookshelves.
Which means I don’t get a bookshelf every time anymore.
😑
Where, I ask you, am I supposed to store my tiny books if they don’t come with tiny bookshelves?!
Thankfully, series 1 is still in stock at stores so I can get more of those for the shelves.
I was SUPER upset when I opened the first one (I’ve gotten a few more but forgot pics) and got a candle stick.
However!
After a bit I realized that I could paint the tip with glow in the dark paint.
And possibly do different colors for the candle itself.
😁
Until next time peeps, stay crafty even when upset. Apparently you can problem solve in fantastic ways when that happens!
Sorry y’all, I’ve been sick the last several days and just want to sleep.
Most likely NEED to sleep to get better.
We talk next week.
My post from June 30 mentioned a funny Bible thing I had read, but subsequent posts tended toward not feeling well enough to make posts and so I forgot.
HOWEVER!
I do randomly go back and read some of my own posts and I was reminded.
Thus, the funny Bible thing!
Background info- I’m doing a Bible journal this year (still undecided if I like it) and it has me bouncing from Old to New Testament.
This is why the funny happened!
One week I’m reading about Elijah and Elishah when it was Elijah’s time to go. Elishah refused to leave him and so followed him until Elijah (most likely hearing from God) tells Elishah to ask for anything and if he sees when God takes Elijah into heaven, whatever he asked for will be his.
Elishah does in fact see when God takes Elijah into heaven, is massively blessed as he’d asked, and goes back to tell other prophets who’d been waiting.
The other prophets, after hearing Elishah’s accounting, ask if they can go and look for Elijah on the surrounding mountain tops…
Why?
Why would they ask that? Do you know how weird that was to read and I reread it because I thought I’d misunderstood.
Anyways, he finally relents and lets them take a look. Of course they don’t find anything because God took Elijah up into heaven.
Fast forward a couple weeks and I’m now reading in Acts when Paul is told by God to go preach to a caravan in the middle of the desert.
He goes, does a good job and even baptizes the leader of the caravan!
THEN GOD PICKS PAUL UP AND DROPS HIM OFF IN A CITY MILES AWAY!!!
Those prophets, apparently, had a reason for asking what they did.
Exactly how many times has God just picked someone up and dropped them off somewhere that in the Old Testament that’s the first thing the prophets thought of?
Can you imagine?
I am still gobsmacked and amused by that discovery!
Read the Bible y’all, cause it’s got some funny stuff in it!
