Could be depression related since I get depressed when I’m over weight (and I’m not only overweight atm but I’m having SUCH a hard time losing weight because of medication I’m on), and I also haven’t been feeling like doing crafty things.
But didn’t you just do a crafty thing a couple weeks ago you may be wondering.
I did.
And I enjoyed myself!
Yet here I am.
*le sigh*
My solution to the reading slump is to read 1 chapter a piece of multiple books. I’ve done it before and it’s helped because at least one book will be captivating enough that I’ll want to read the whole thing.
This means I have about 10 books, not including the Bible since that’s a whole year read thing, that I’ll be reading at the same time.
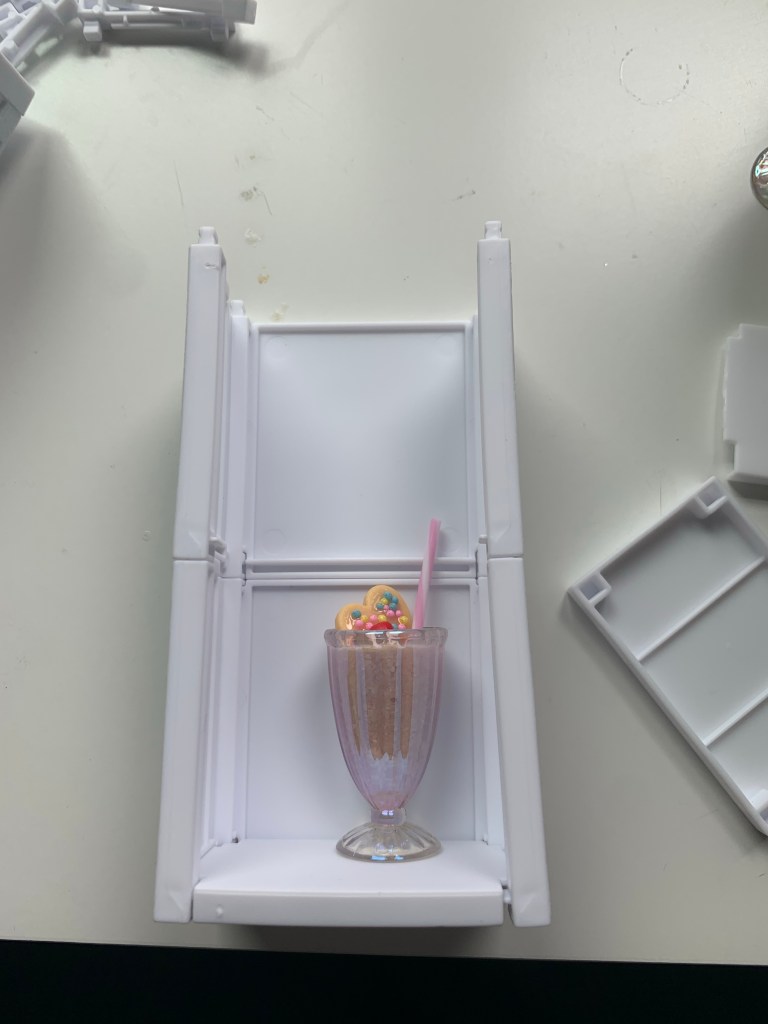
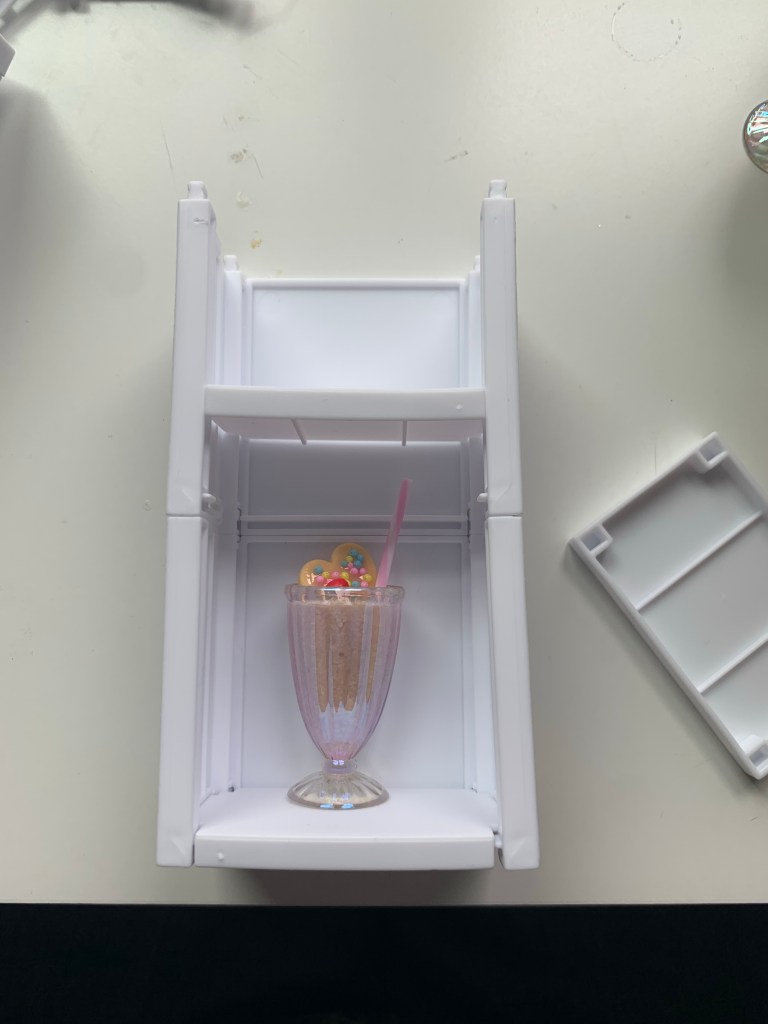
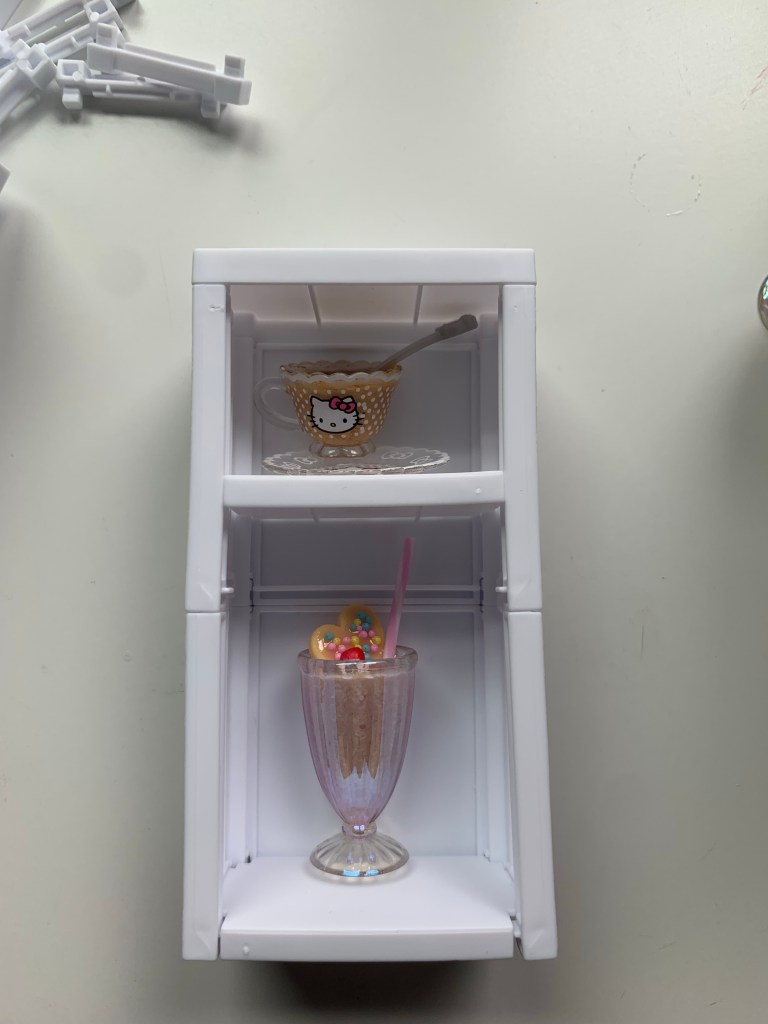
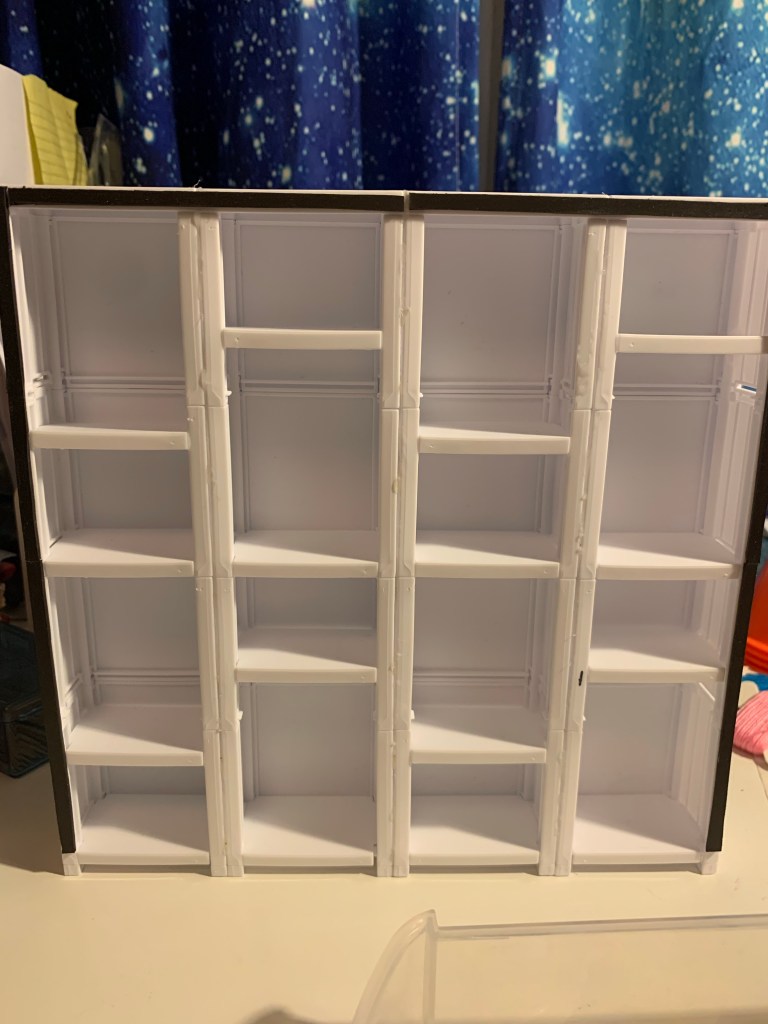
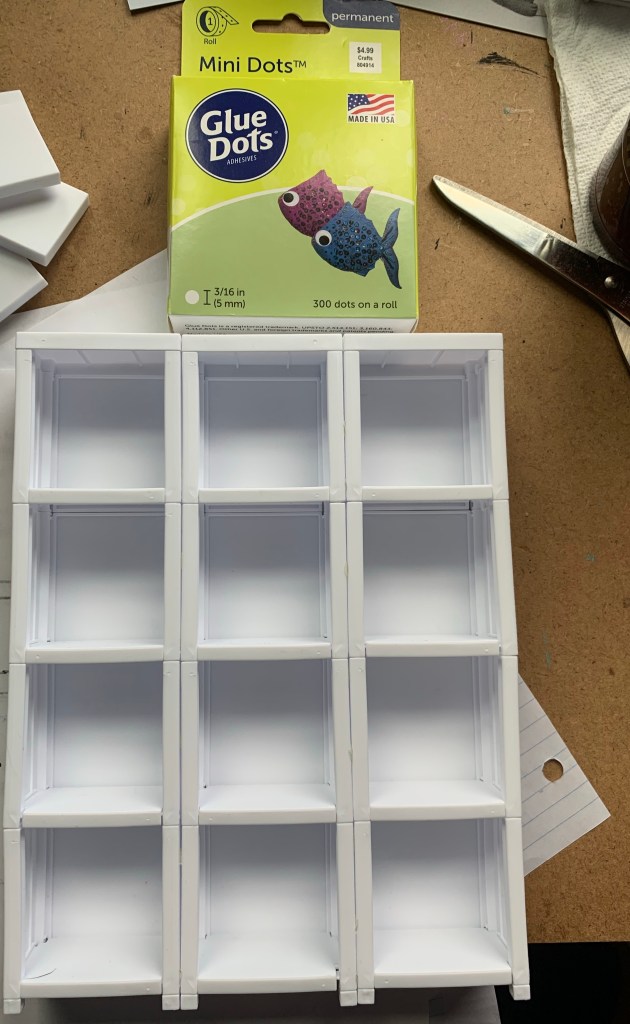
Tiny bookshelf!Ironically, the shelves are too small for my small drinks.However! They stack!
I had a genius idea while in the bathroom (because that’s where all good ideas happen) and decided to test it.
Thankfully I still had enough tiny bookshelves (I also finally completed my tiny book collection!! Just in time for the second series to come out lol!) to experiment with.
I knew they stacked, I just wasn’t sure if they stacked without the base.
They do!
Next problem was how to use the shelf still and since it fit almost perfectly I took off the piece that usually clicks into the opening and makes the base.
It’s a little hard to tell because my cuts aren’t exactly even, but the second protrusion is what I took off. Worked perfectly!
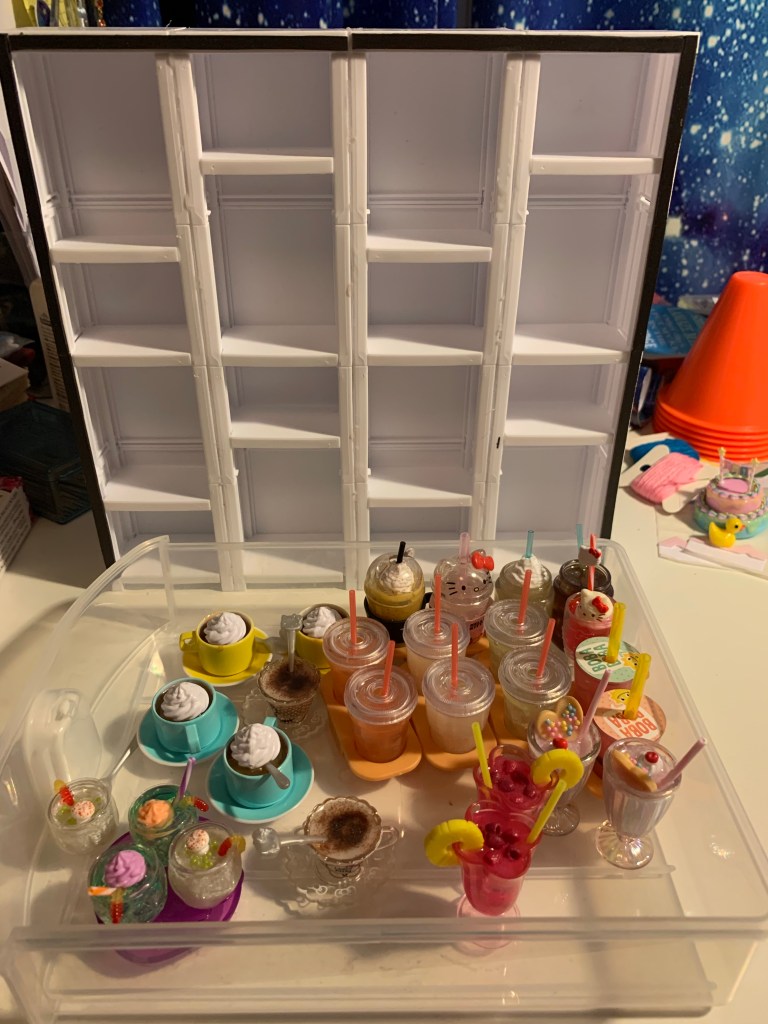
Prototype!
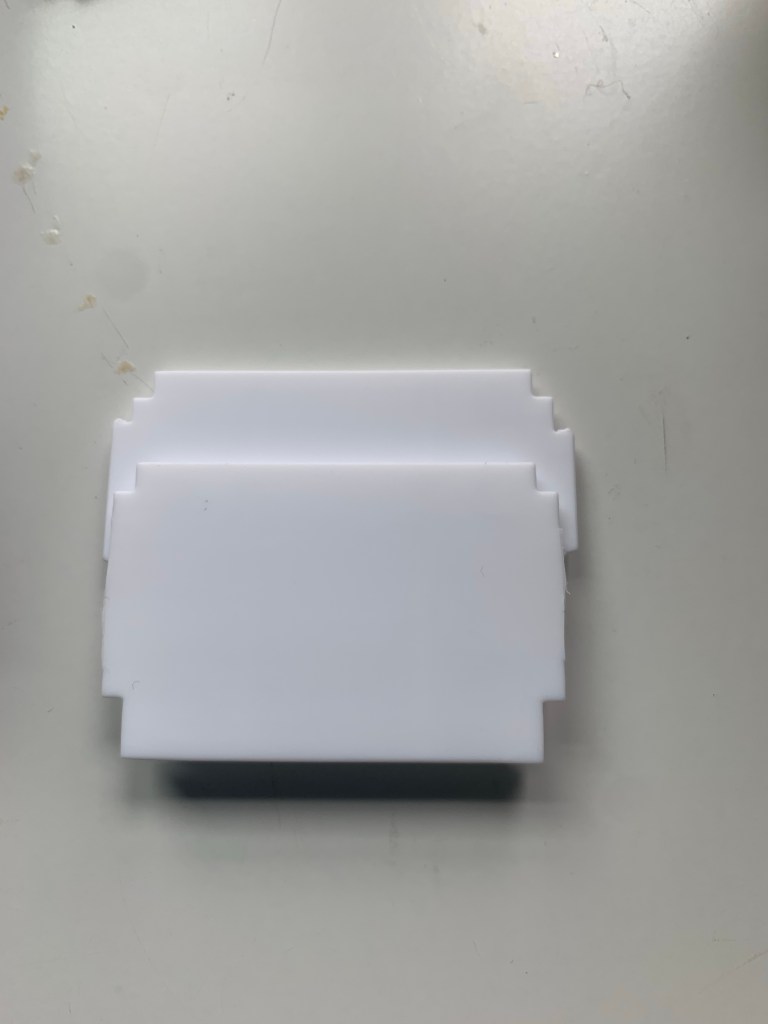
I had to make sure the spacing was right of course before gluing. I actually marked up my metal ruler for this.
I’m not sure how, but some of the bases (middle line) would have clicked into place.
I’d already cut them all, but good to know for next time!
I almost made the mistake of using other non-cut pieces. Thankfully I realized that would be a waste since the I need those for other things.
Even though they wouldn’t click into place anymore, I did use the cut ones for the entire thing.
Everything that I had matched into possibly fitting!
The black strips on the side are for the cover/door. I needed a little more space for the ones with plates and the magnet strips gave me that space.
I might try hinges next time and use modeling clay to bump it out.
I love experimenting!
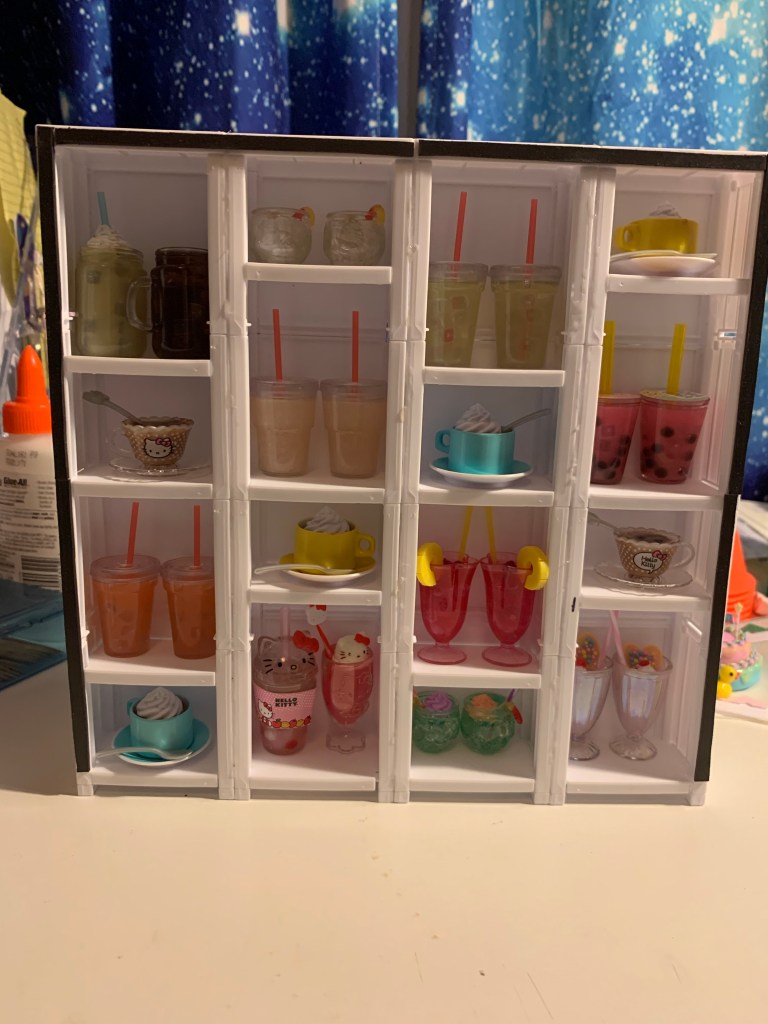
EVERYTHING (except one Halloween drink) fit!!!
I know the picture isn’t that good, but it took a little longer than I thought.
I have an another genius idea for the longer items I have (platters, trays, etc…), but I really need to finish the last of my scrapbook before getting into another crafty thing.
It’ll also involve buying more craft supplies and I’m really trying to use up what I have first.
Although, I’ve had another idea for crafty storage that may do the trick for my room…
We shall see.
Hope y’all enjoyed these tiny adventures into crafting!
Next week may be a Bible one because I just read something SO funny and feel like sharing. I just didn’t want to postpone this one again.
Don’t forget to pray because God is DEFINITELY listening!
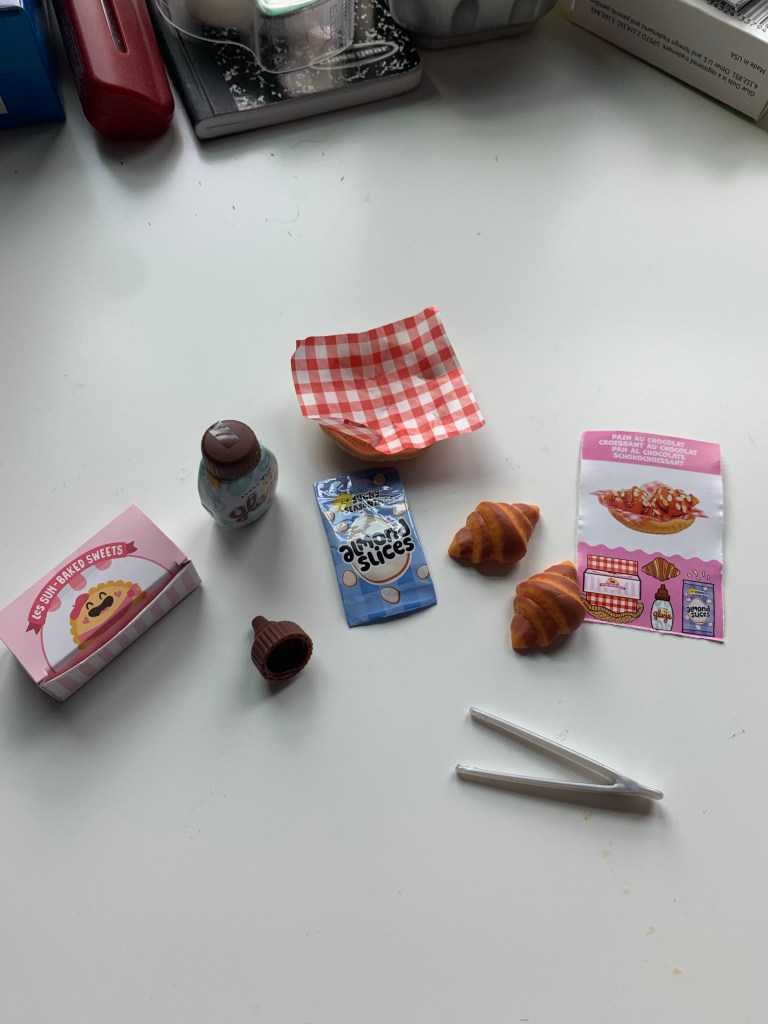
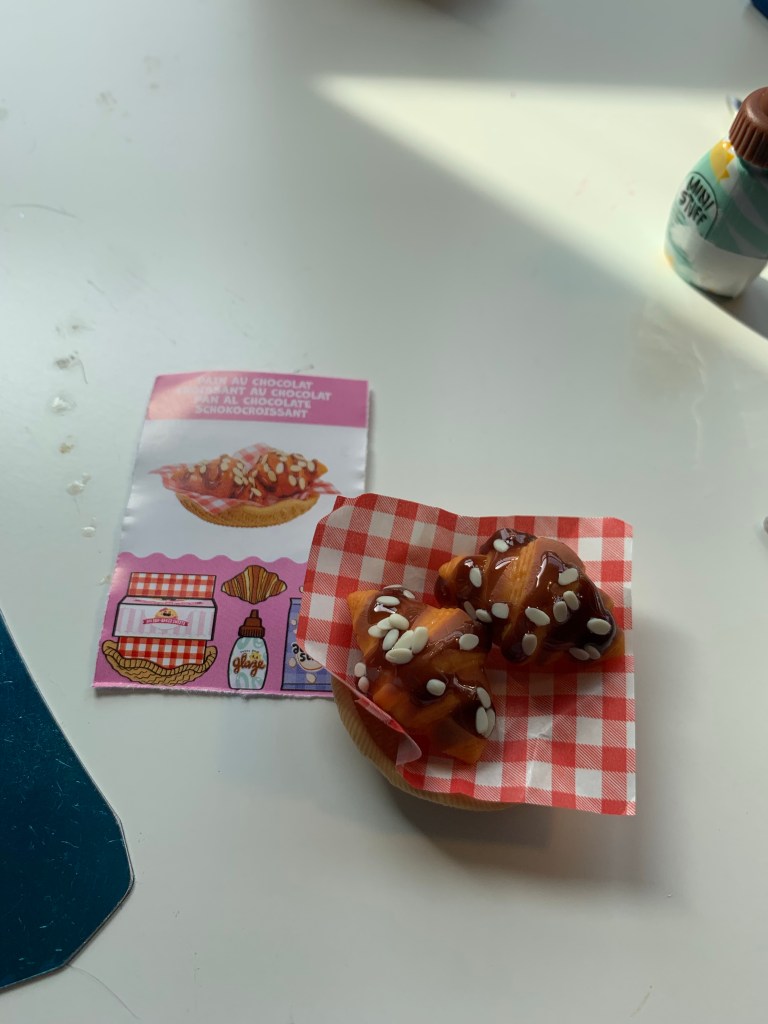
Not surprisingly, I got another MiniVerse and made it!
I LOVE croissants!!
Anyways, I had so much fun when I took vacation and did nothing but MiniVerse that I figured I’d do it again.
So I’ve started collecting them again and ended up finding about 20 that were on sale! Pretty sure some weren’t supposed to be on sale, but when I pointed it out to a manager (who’d come over to help the employee) they just gave them to me for $2 a piece anyway.
11 posts later and I’ve finally gotten caught up with all of those saved pics.
That was a lot!
Anyways, here are some more pics that are craftyesque!
I did not think about what I’d do with all those tiny things after making them…until I was done and they were taking up a good bit of horizontal space I couldn’t afford.
Thankfully, I did in fact keep the extra tiny bookshelves from the MiniBrands Books sets and was able to create this!
Using glue dots of all things! Why I didn’t think of that before is probably due to the fact they were packed up with my other craft supplies.
Out of sight, out of mind.
I didn’t paint it yet because I really just needed them out of the way for now and vertical is space saving for me. I may just leave them or paint them calypso blue like the fairy one from last year.
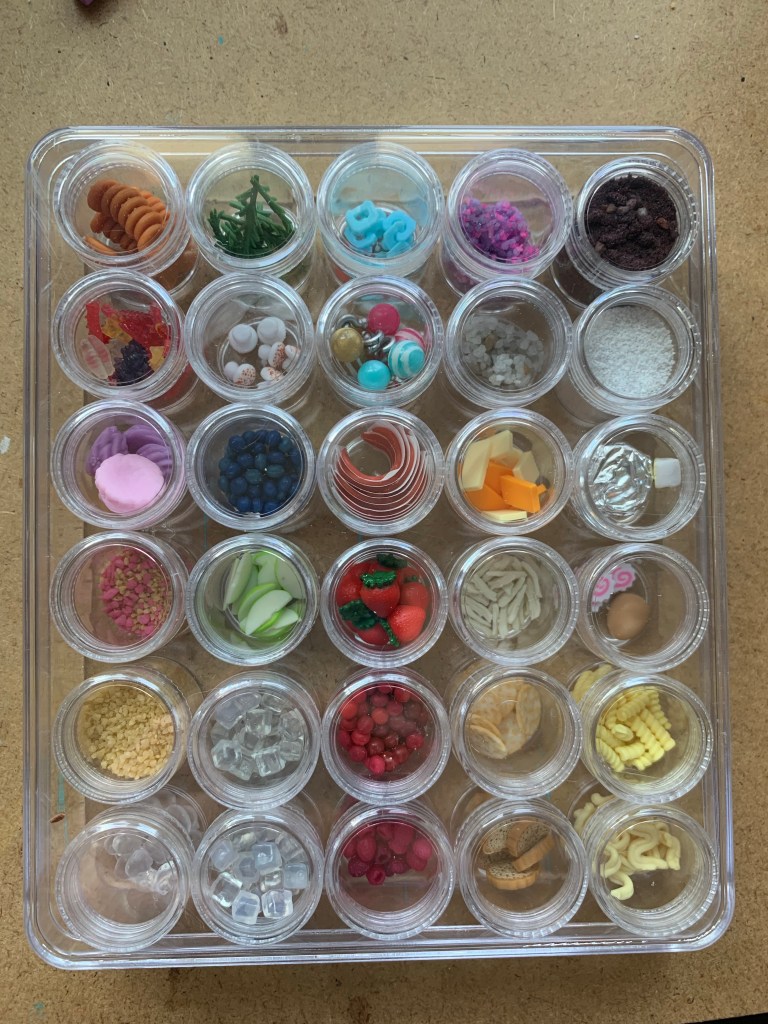
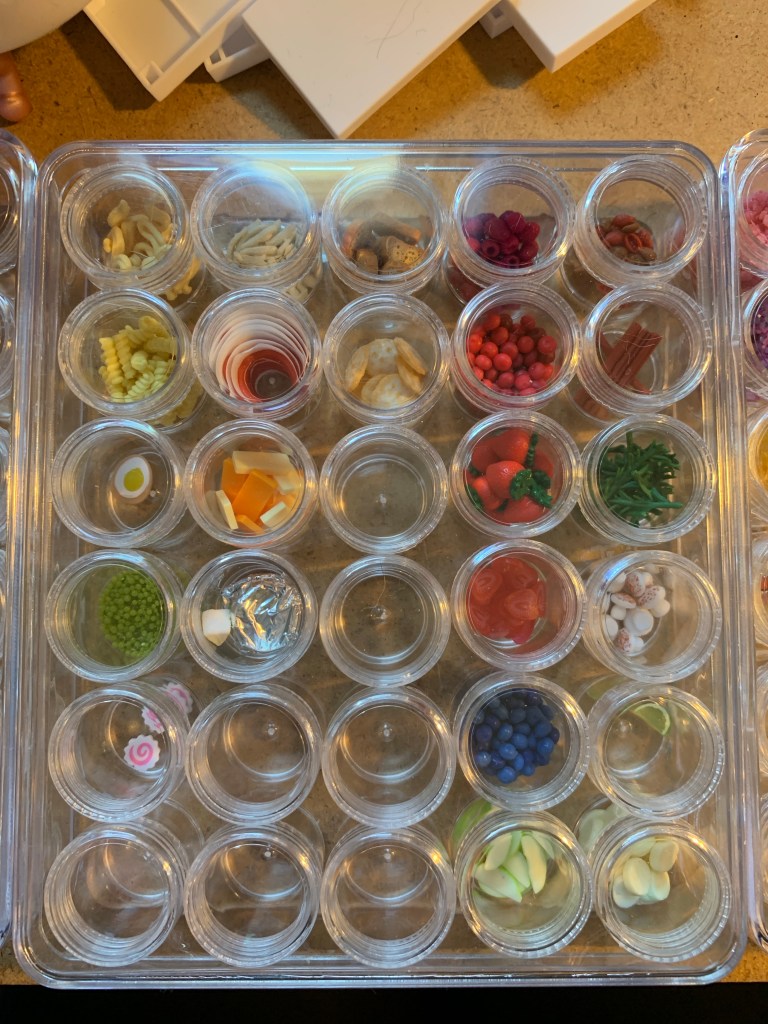
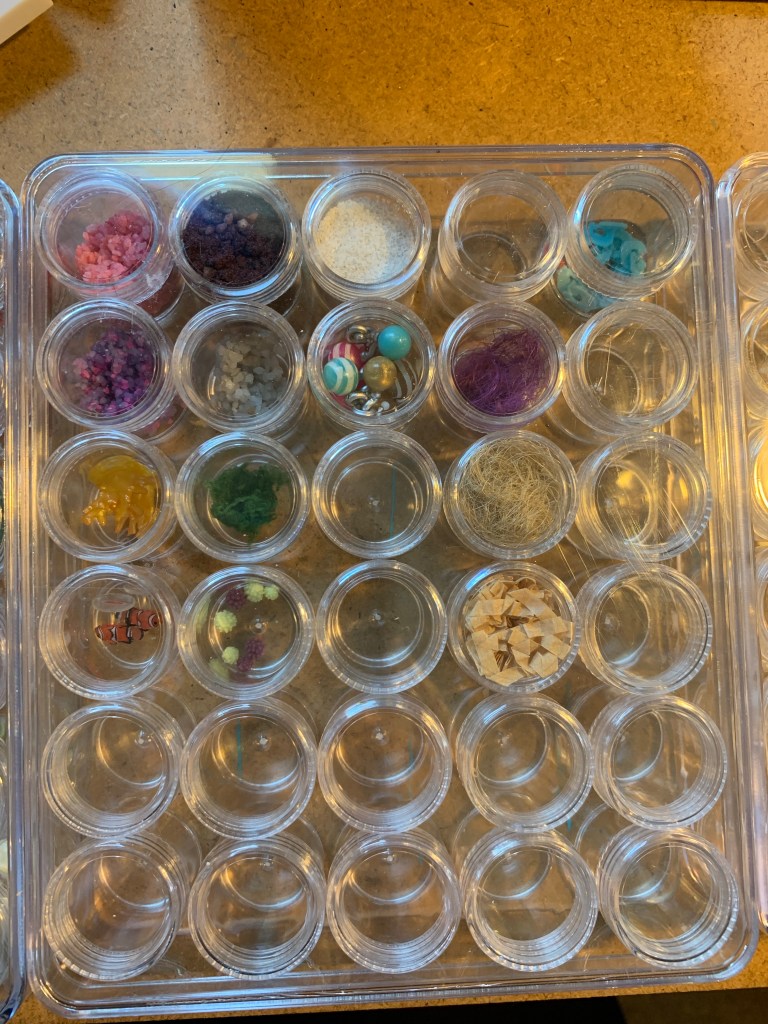
Sadly, Joanne Fabric stores are closing. However, they have several sales going on and I found these fantastic tiny bottles with a lidded case!!
I got 1 to start, incorrectly thinking it would be plenty of space.
Once I’d emptied all of the tiny extras into it, I went back and got more.
I actually went 3 times for these little suckers because they’re fantastic!!!
Reorganized into categories per container. This one’s regular food.This one’s snack/sweet foods and ice.This is the non-food one. Organized by fish, flora, misc, fiber and those tiny bag things.
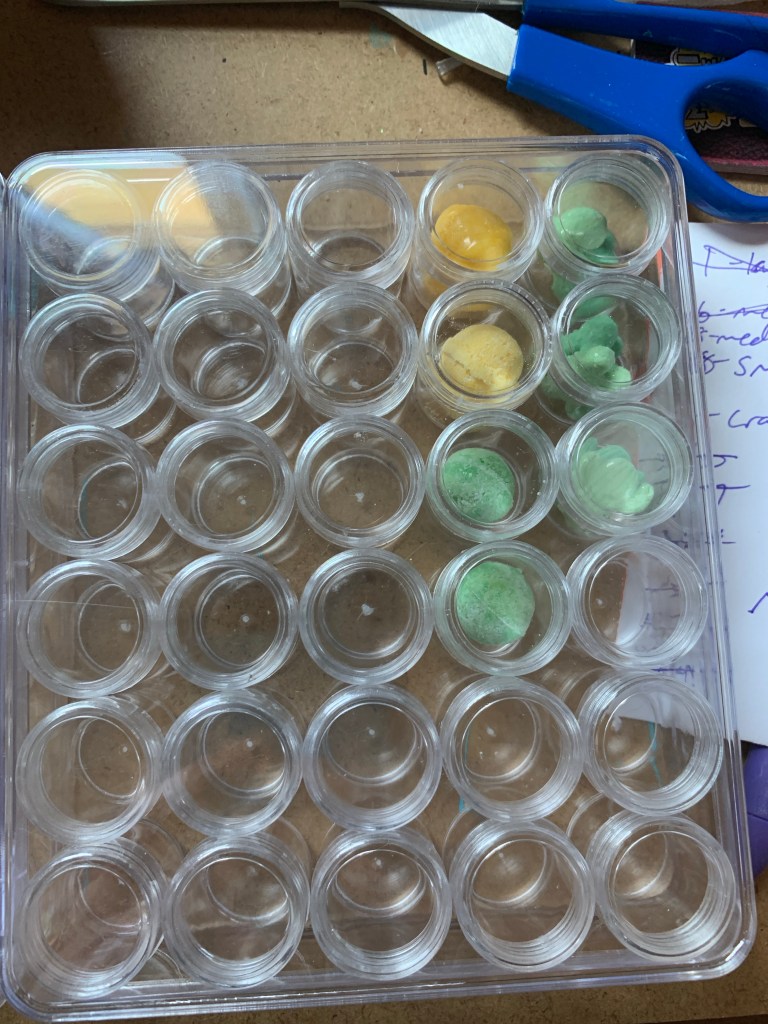
The Miniverse Spa sets are tons of fun, but the end results (made specifically to be used in real life) like to crumble. This was an option to keep them safe.
The other option is to mix them with resin before molding and then cure them. The two green ones worked out pretty well actually. I coated the first yellow one, the one that’s shiny, but the resin was dissolving the powder and the shape got corroded.
I think mixing the resin into the mixture first is a better option, but I might try regular glue too. That might work even better to bind without needing to cure. I’m just not sure how to get it out of the mold if it sticks…
Ta for now!
Don’t forget to read your Bible! There’s some good stuff in there!