
Thank you to all who served!
Author: illeananexry
Crafty Pic Catch Up! (11)
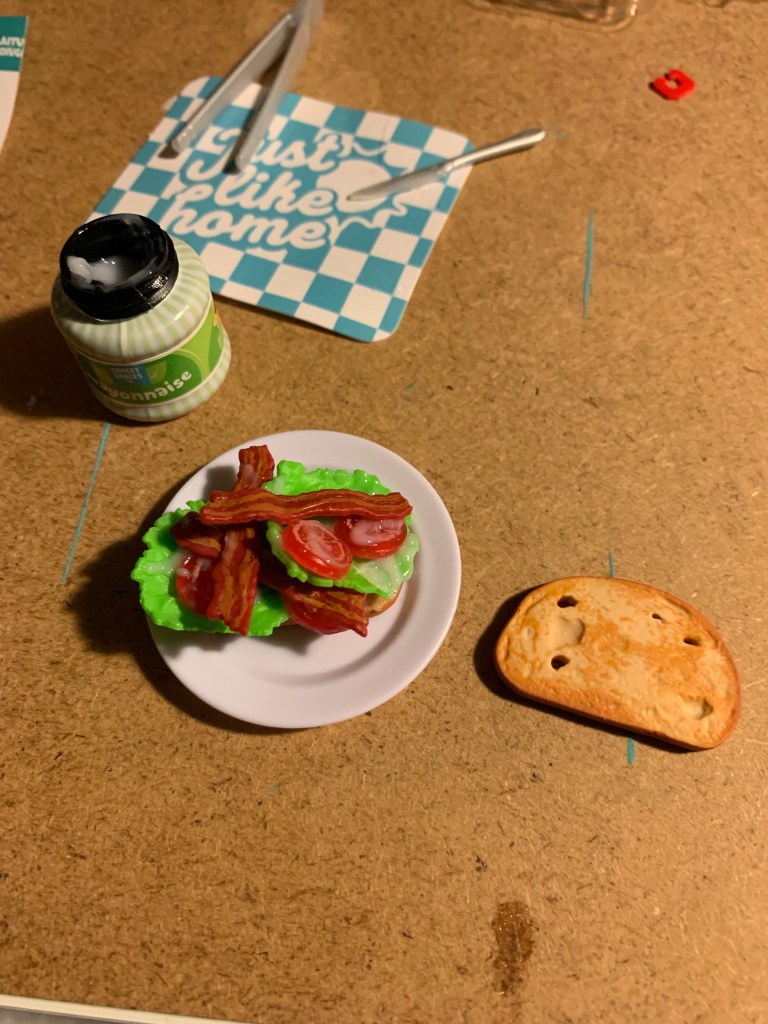
What’s really funny about this one is that my brother had made actual BLTs for supper and he’d asked me if I wanted one.
I had him come in and showed him my tiny BLT!
I was laughing and he just rolled his eyes.
Good times!🤣

The mayo resin was hilarious, but something of a pain to use. This was before I got my new uv lamp so I was using a small flashlight one and also having to leave it on my window sill to get light.
Since the mayo was under the lettuce and other ingredients though, it wasn’t getting the light needed to cure. I finally had to do this (above pic) where the mayo was spread over in globs to cure it to the other pieces.
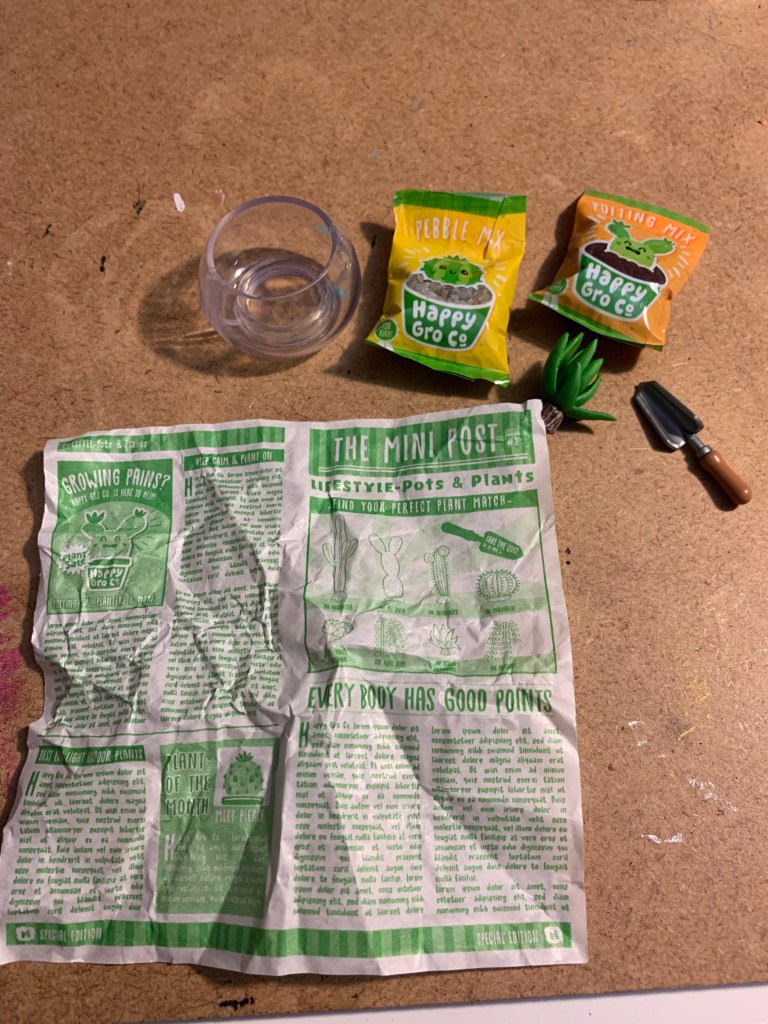
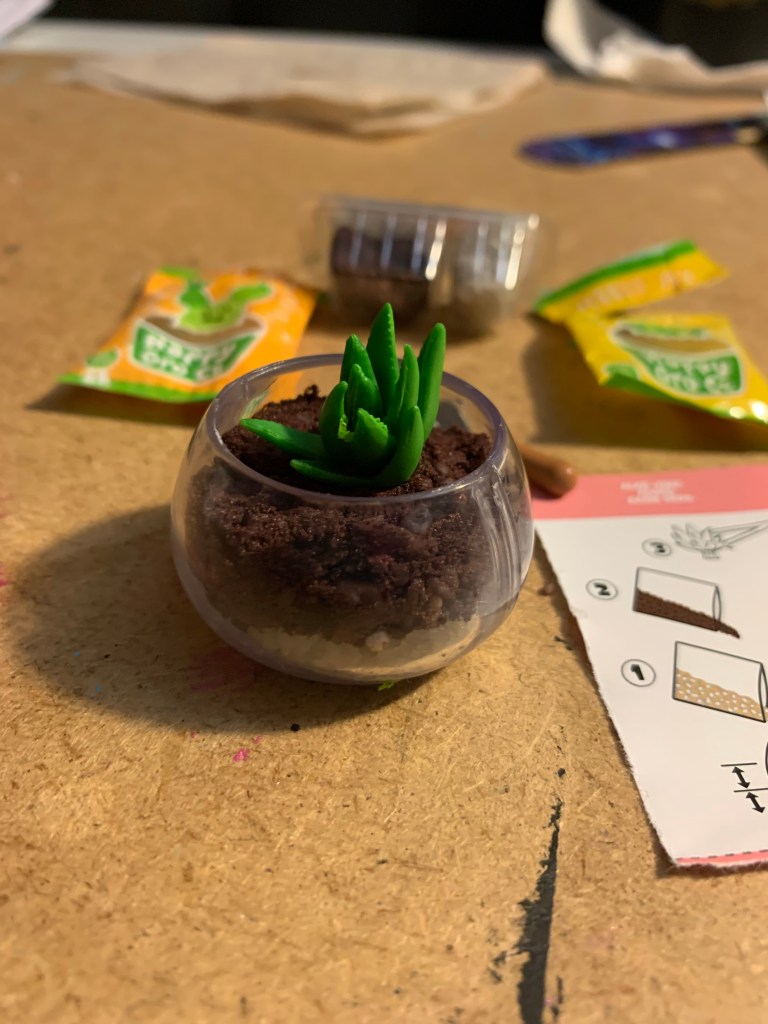
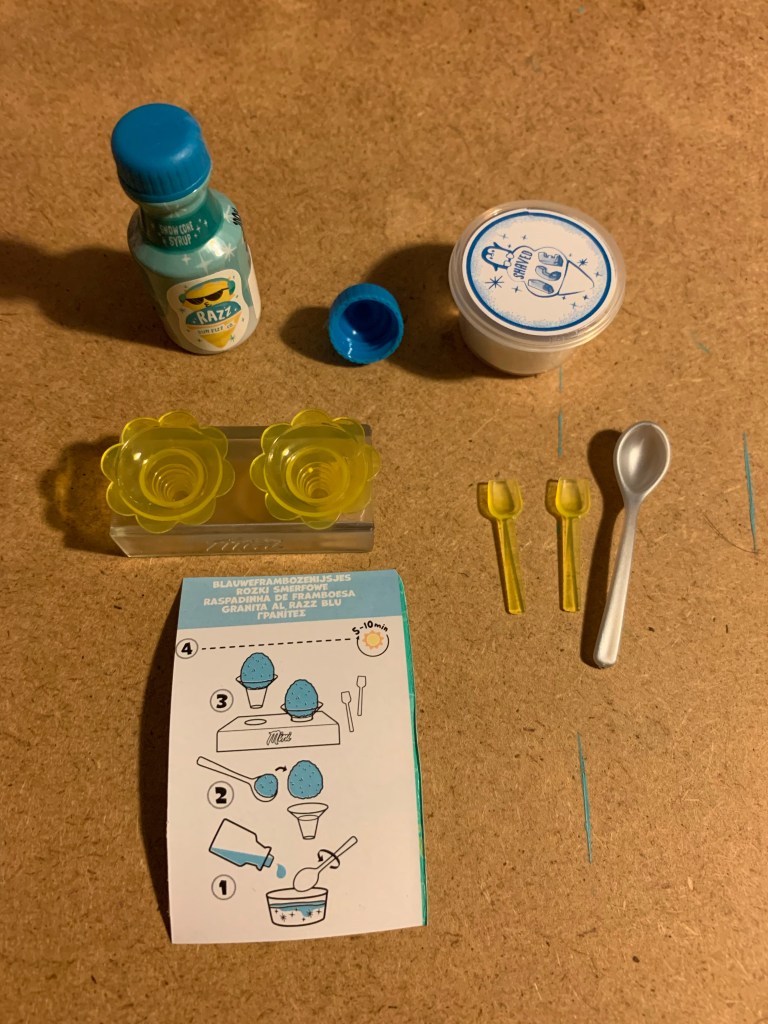
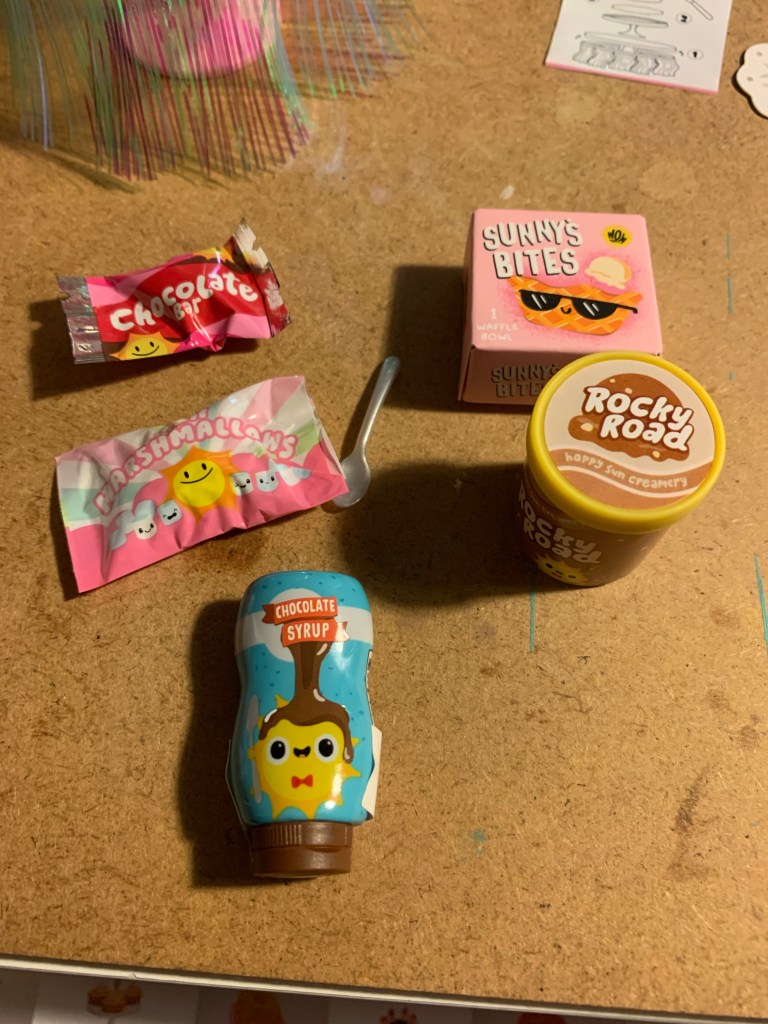
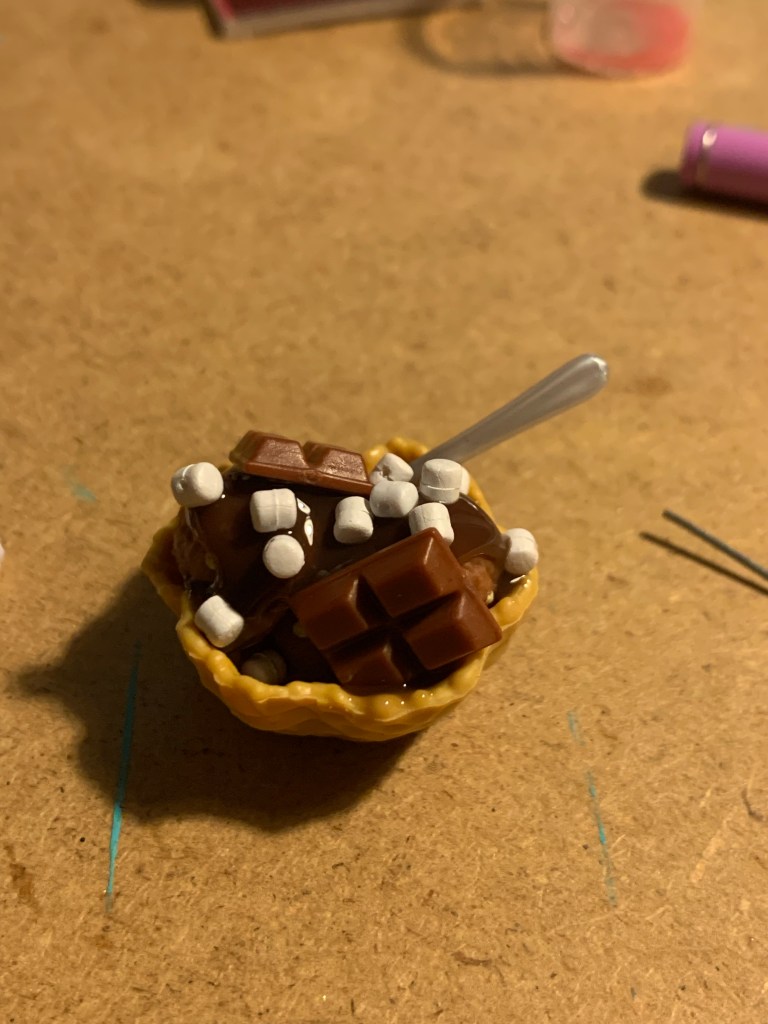
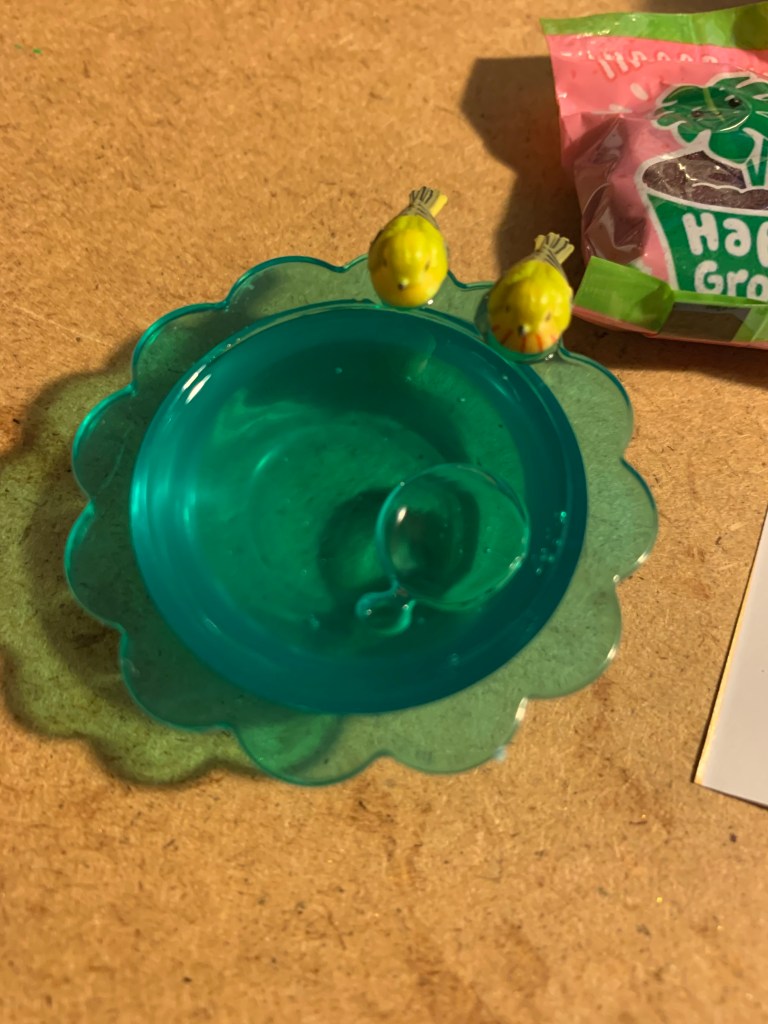
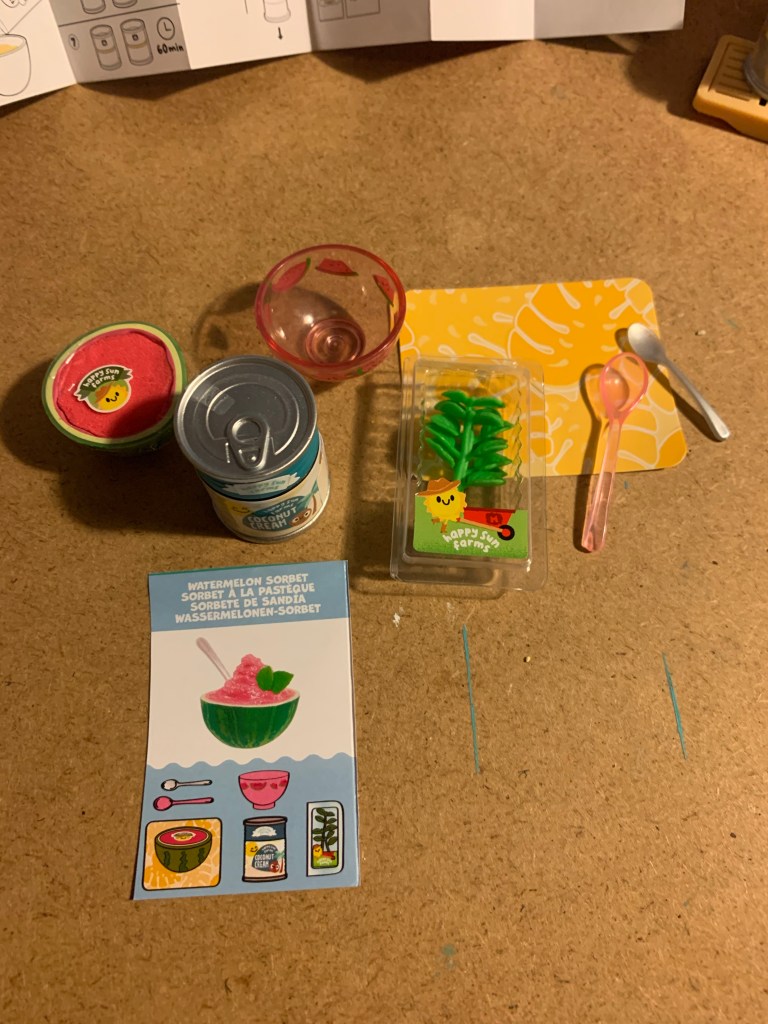
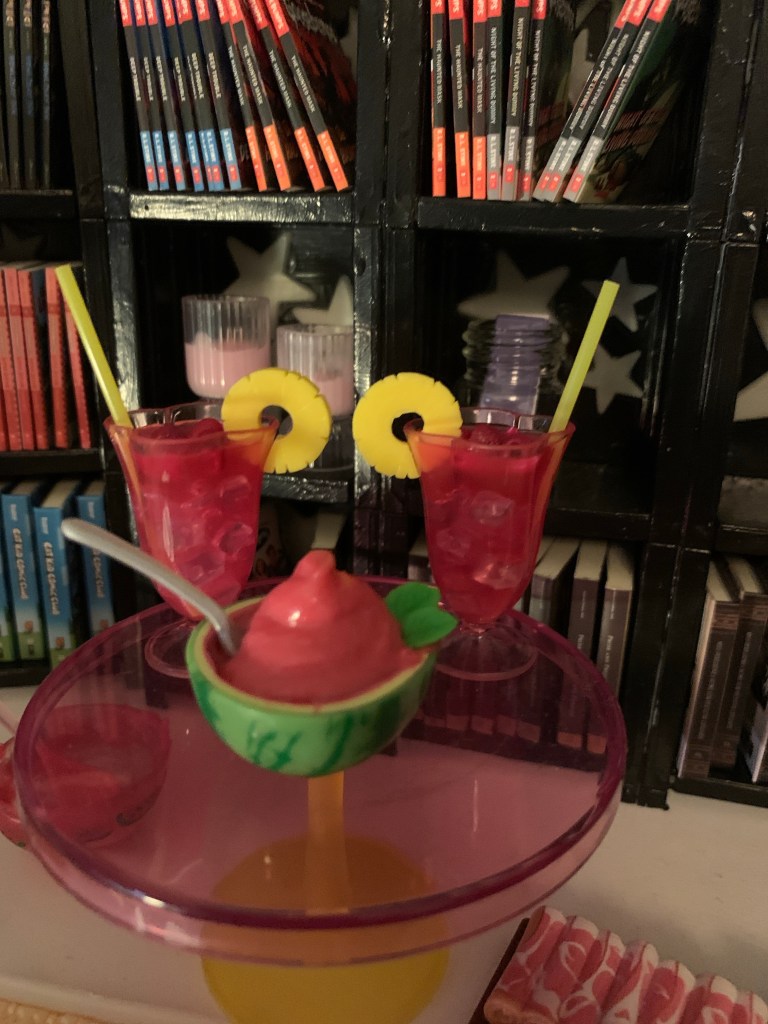
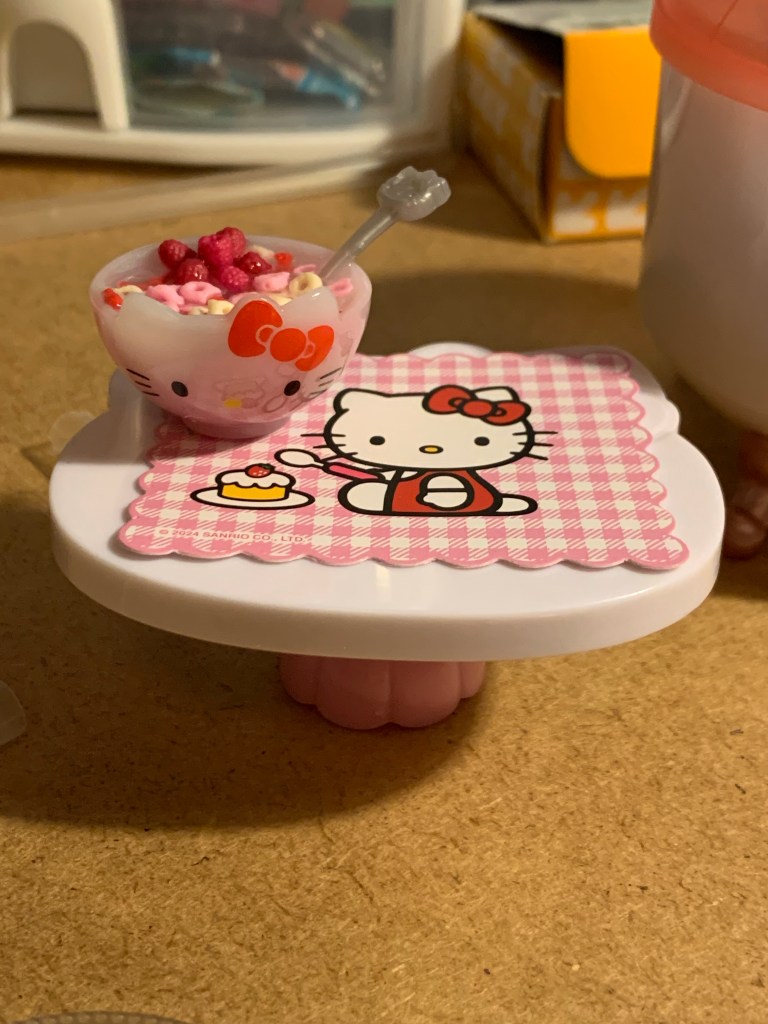
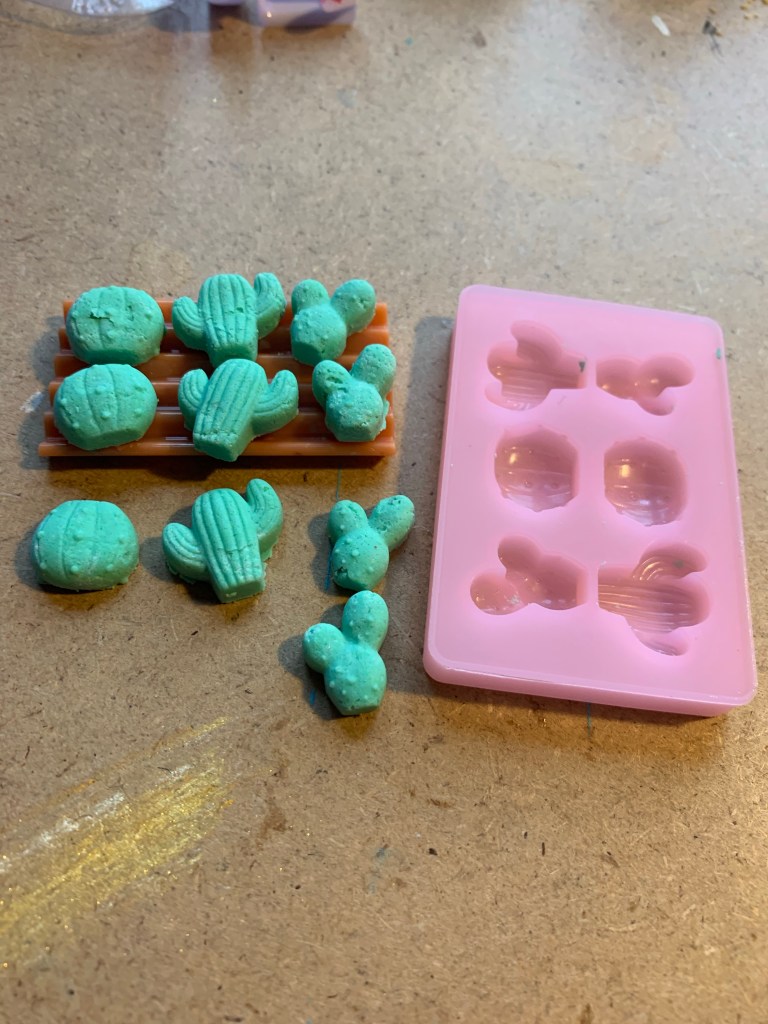
More fun than the MiniBrands version because this had actual ‘soil’ to use instead of plastic snapping into more plastic.
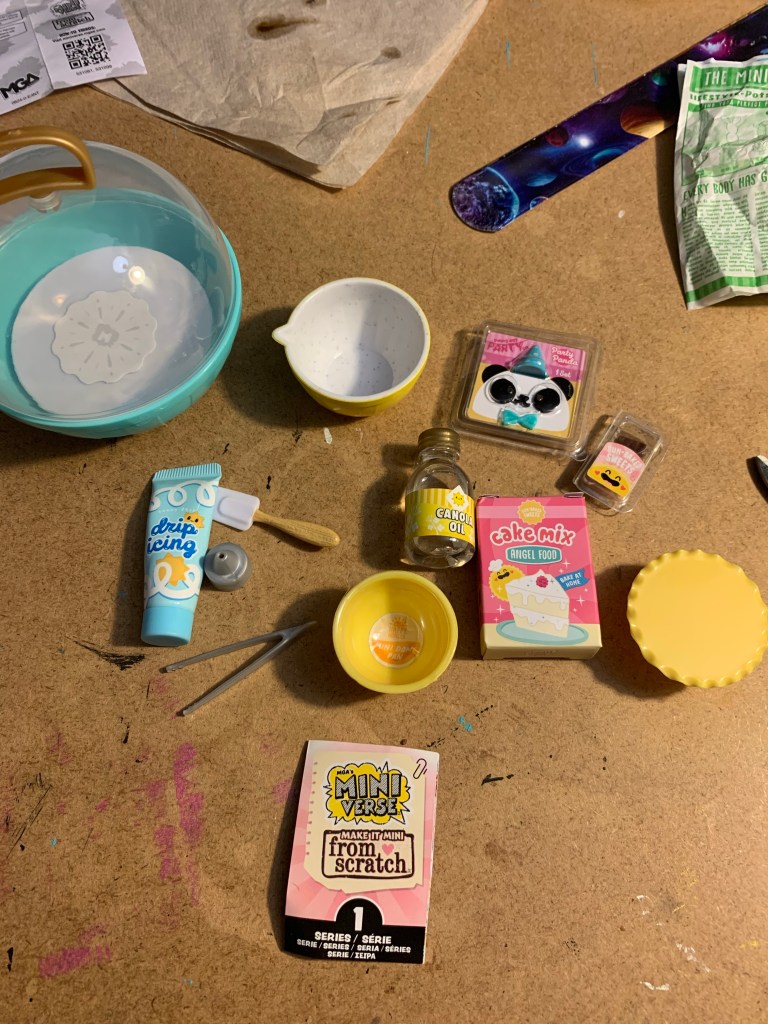

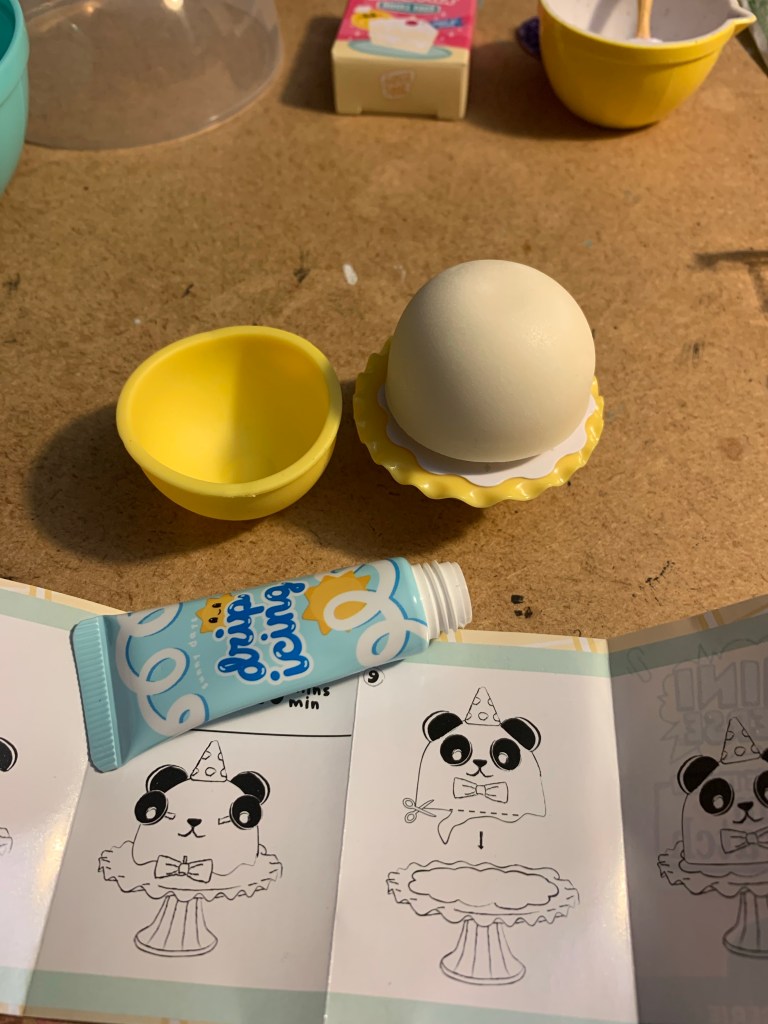
The eyes, mouth and tie were just little pushpins, but since the cake was spongey and the frosting was thick, it took a little persuading to get them to stay!
I think we have one more crafty catch up post left!
Next time peeps!
Crafty Pic Catch Up! (10)
Anyone else notice I started capitalizing the first letters for some reason in the last several titles?
Anyways, onto the crafty!
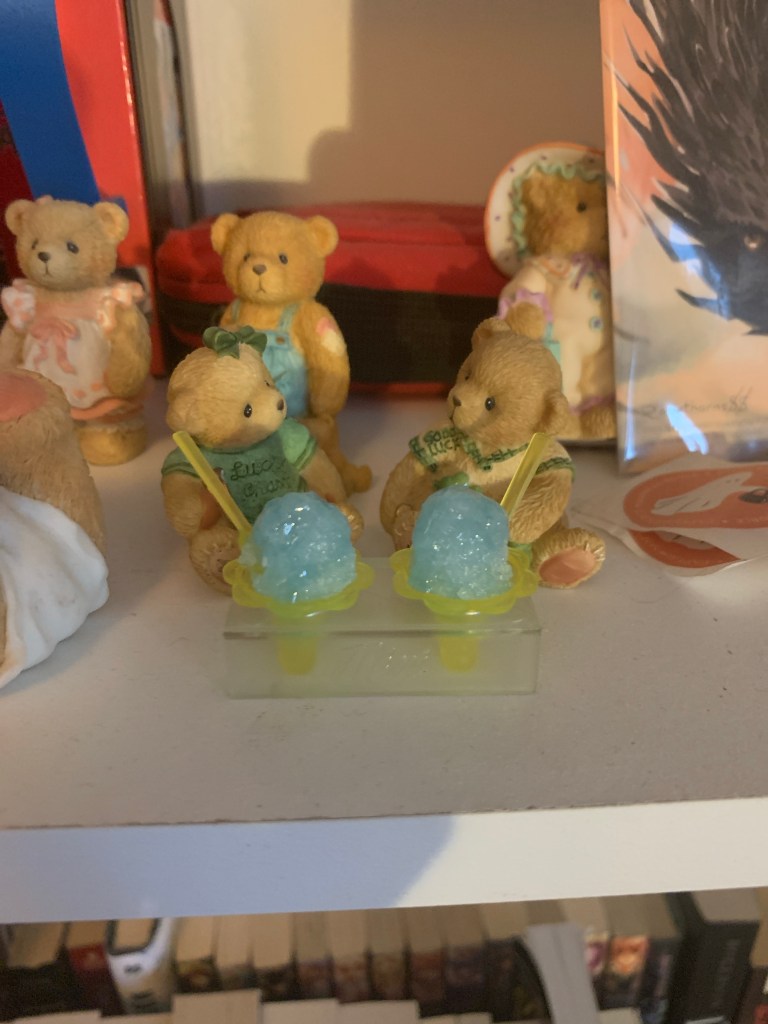
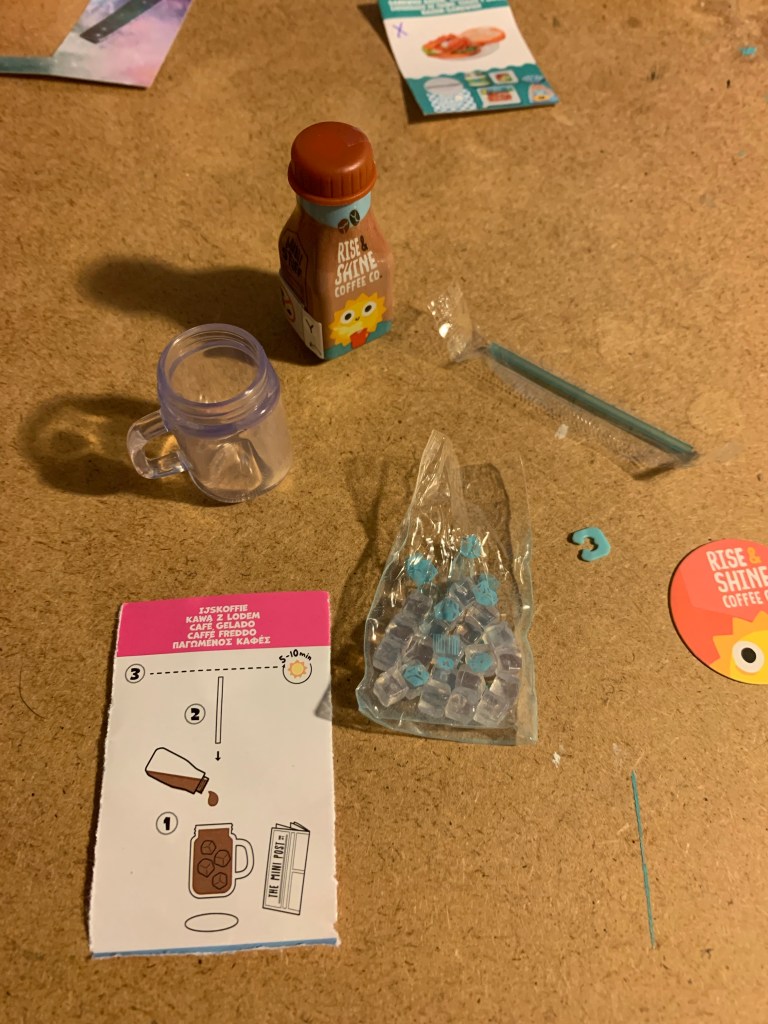

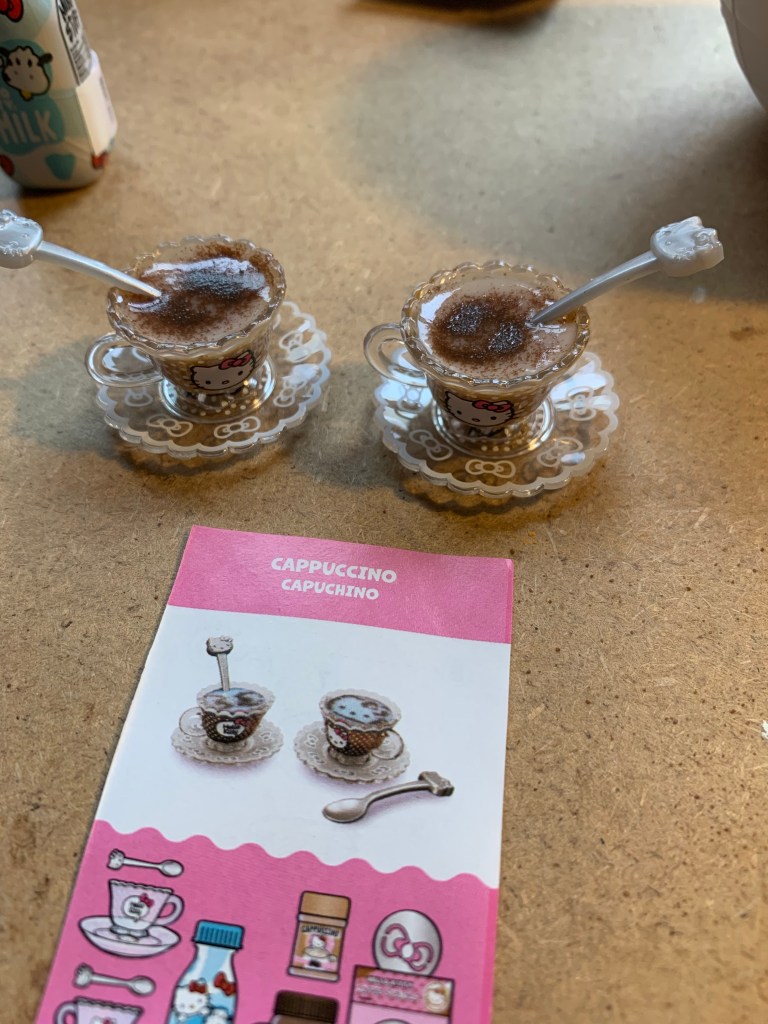
Another Cherished Teddy got an iced coffee!(yes, I need to fix the pinwheel, I forgot!)

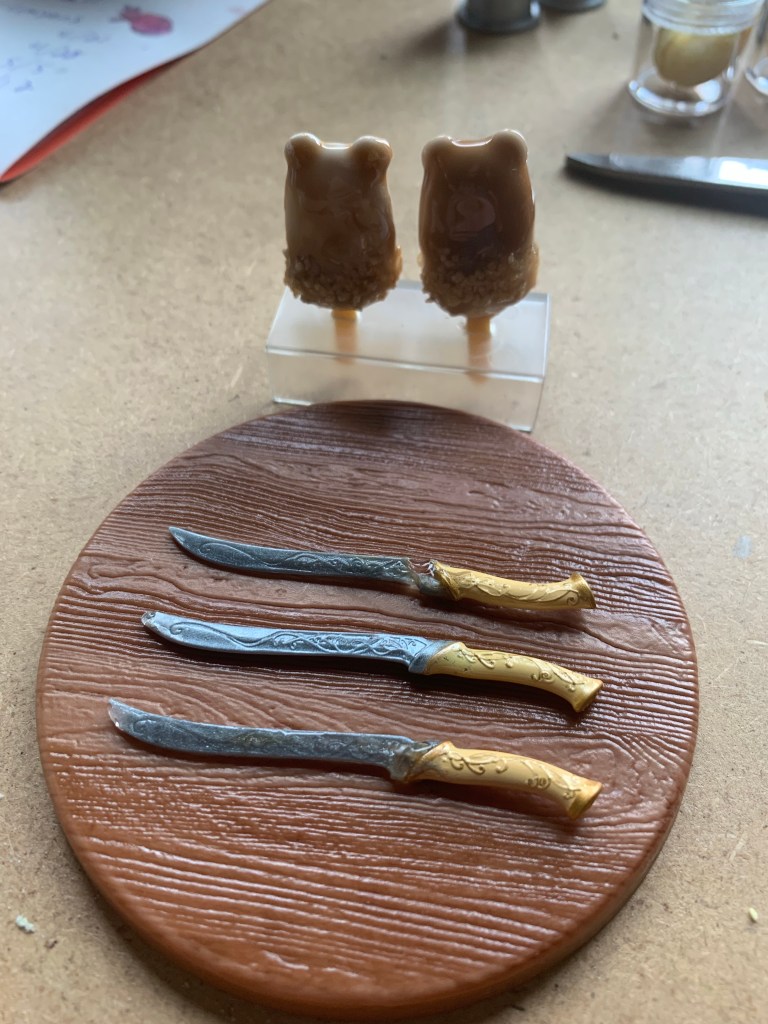
I retried the Lord of the Rings Elven blade mold with just clear resin and my uv lamp. It came out SO great!
I’m guessing the uv lamp made the difference, but just in case it was partially because of the glitter additive, I’ll be trying it again with glitter…I just need more hilts.😁
I think we’re almost to the end of the back dated crafty things, but I have so many pics saved on my phone I could find another hundred and not be surprised!🤣
Ta for now!!
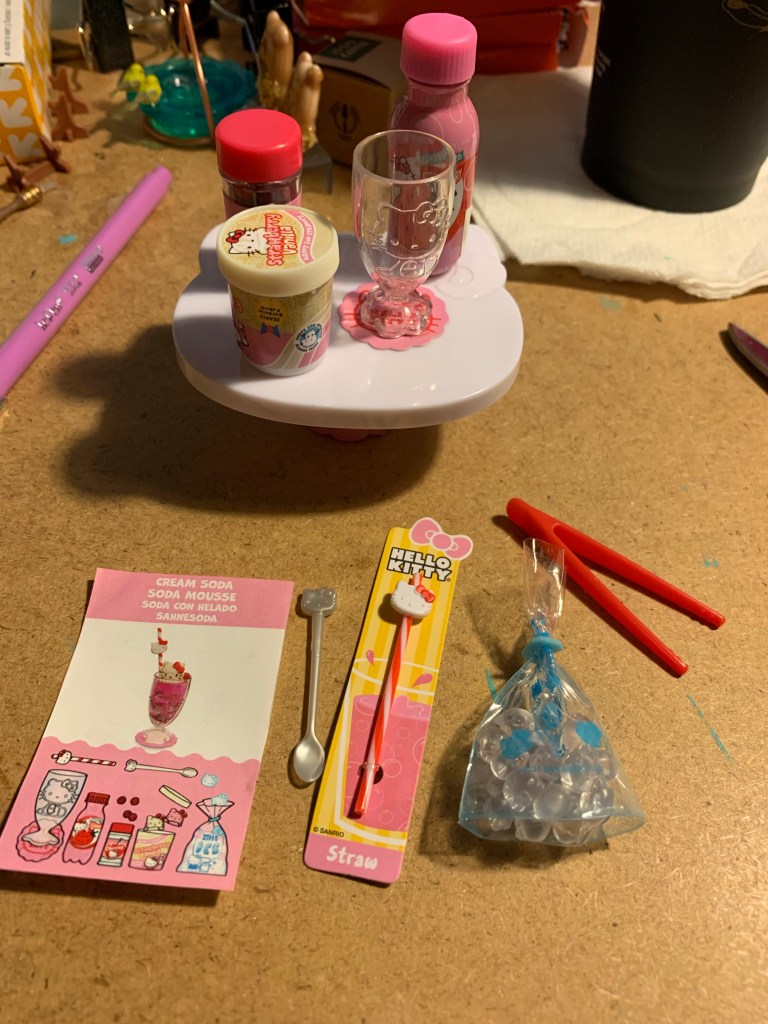
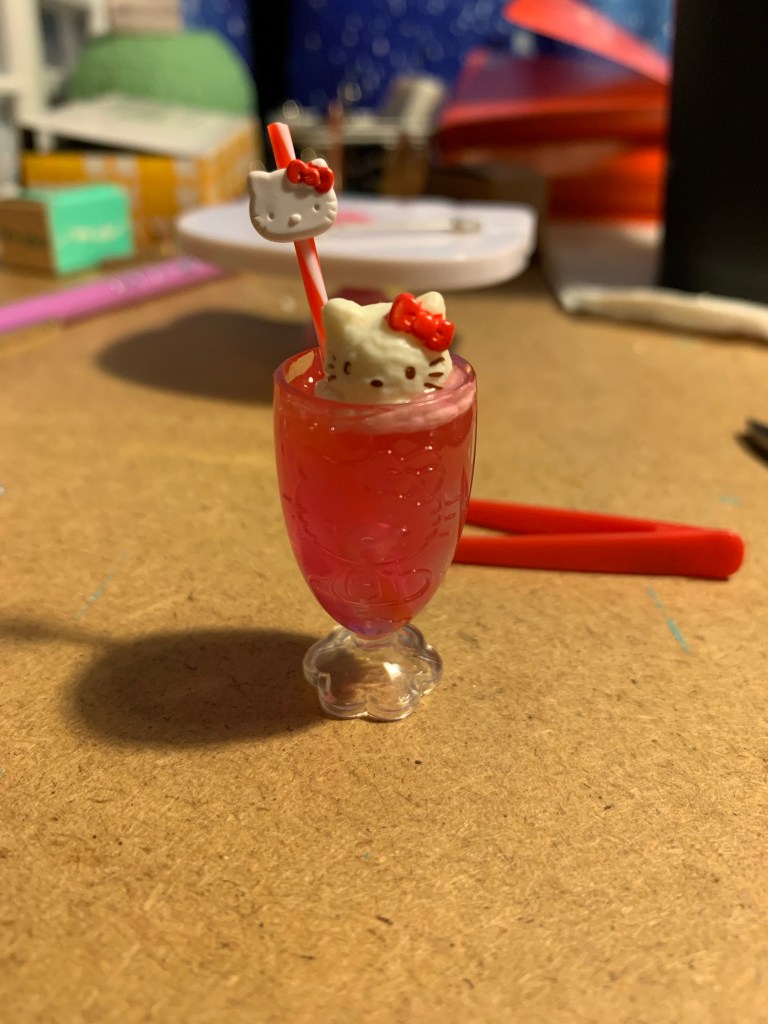
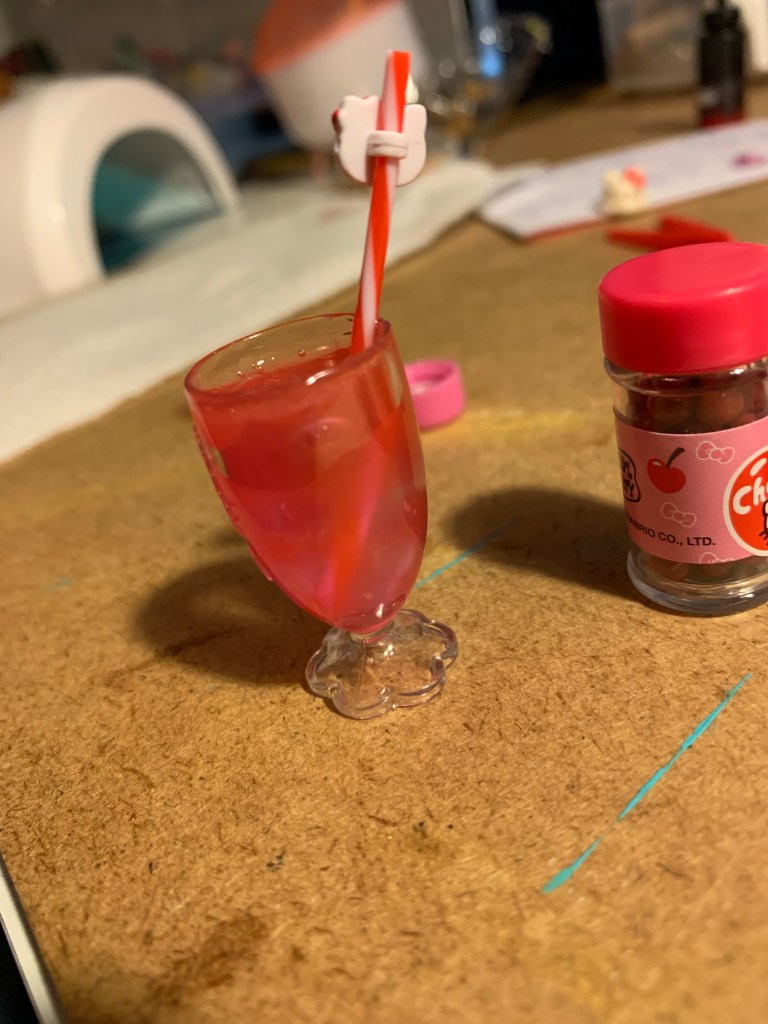
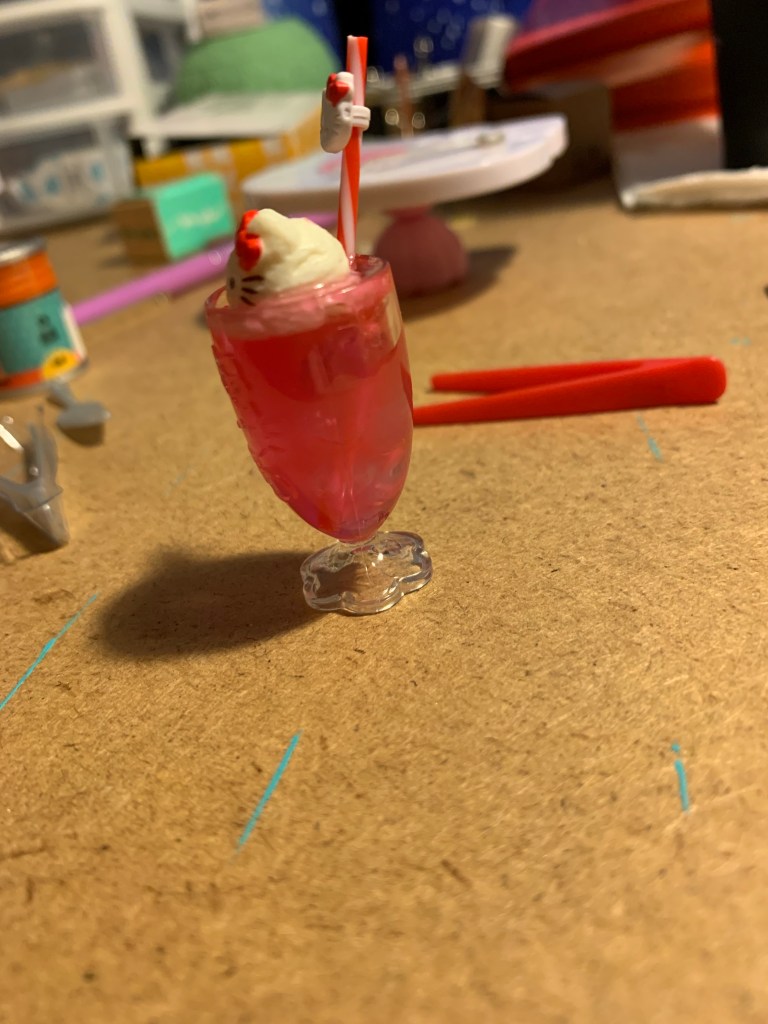
Crafty Pic Catch Up! (9)

So much fun with all of these!!
See everyone next week!
Crafty Pic Catch Up! (8)

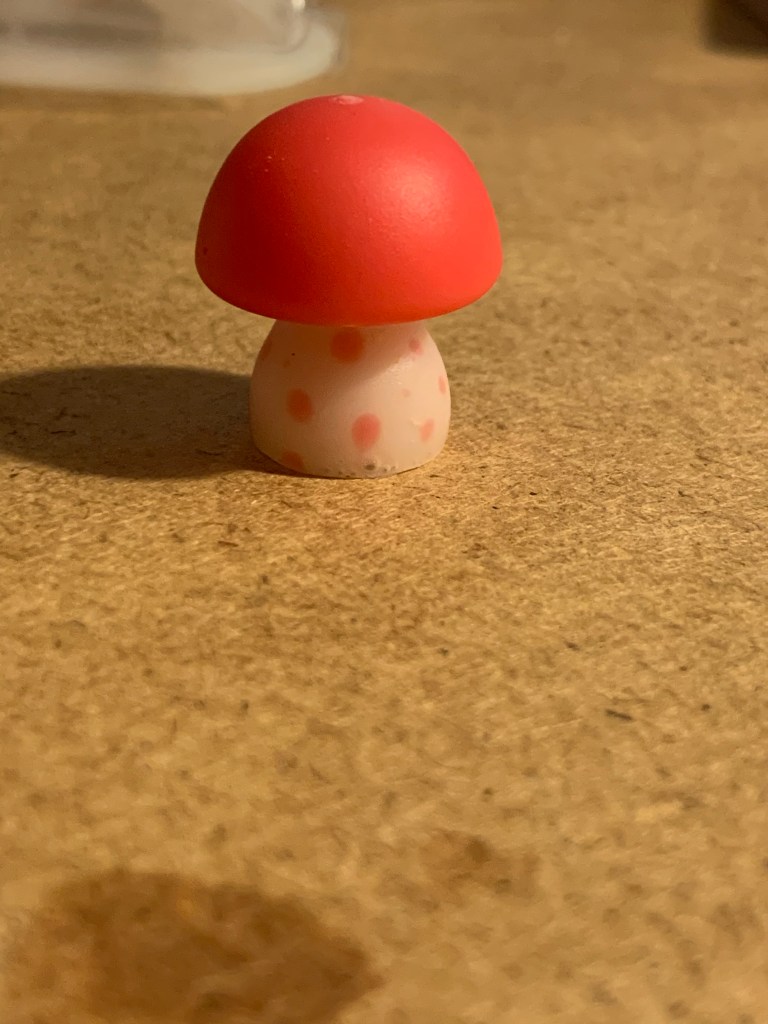
So I used an extra set of skull mugs and milk jugs for this set instead of the skeleton bottle. Since it was still spooky vibes I also added some mushrooms and the gummy worms for effect!


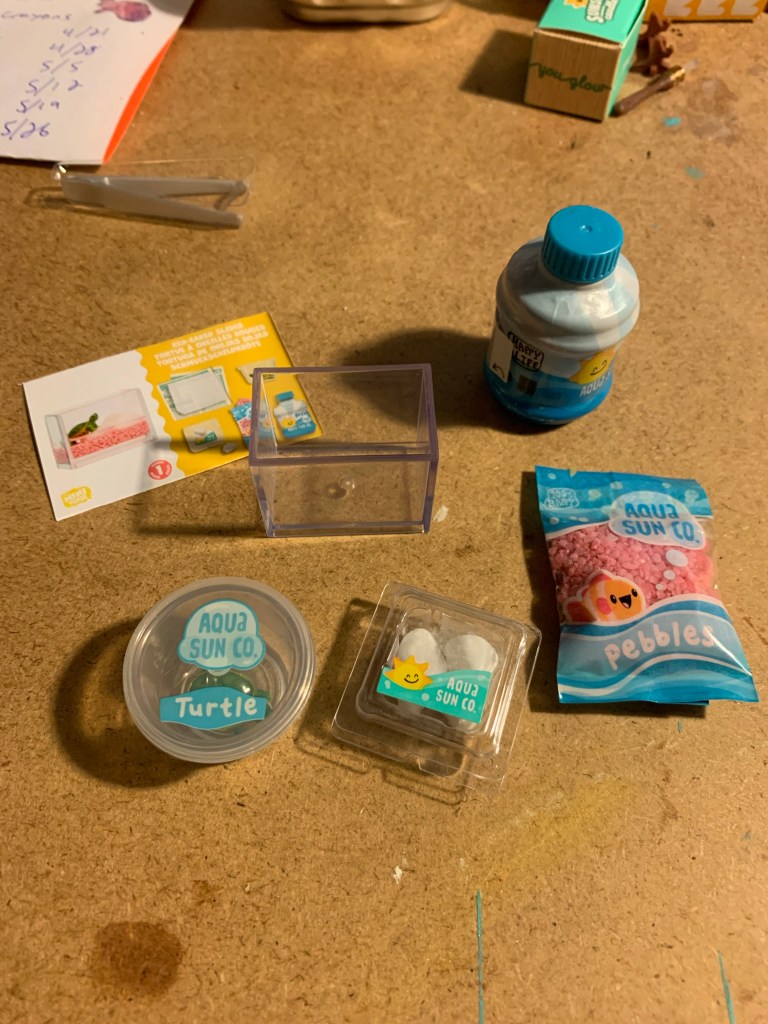
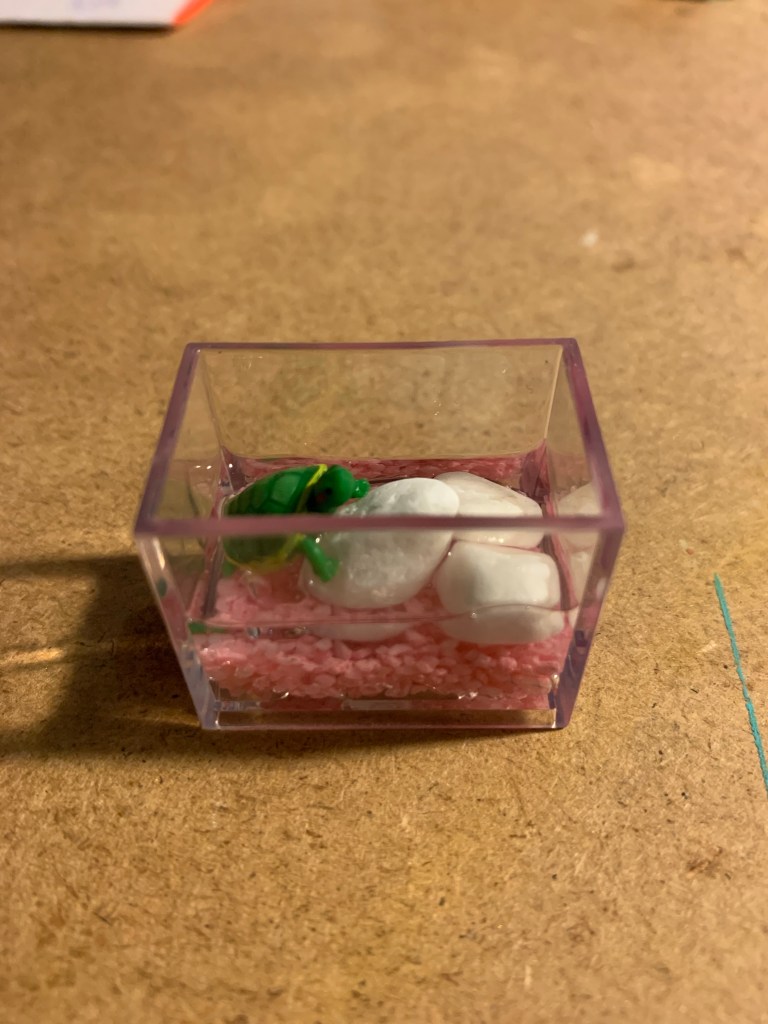
I have a turtle!
I have an idea for how I’ll display all of these because I did NOT think of that before hand. 😳
Until next week, keep praying cause God likes hearing from you!
Crafty Pic Catch Up! (7)
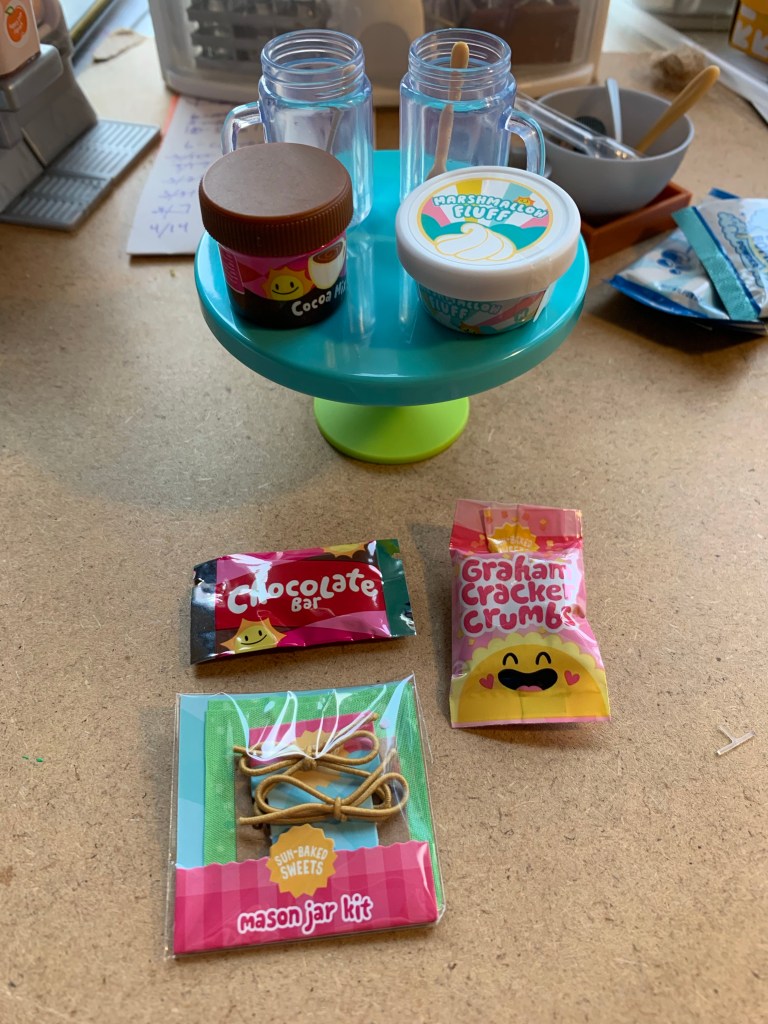

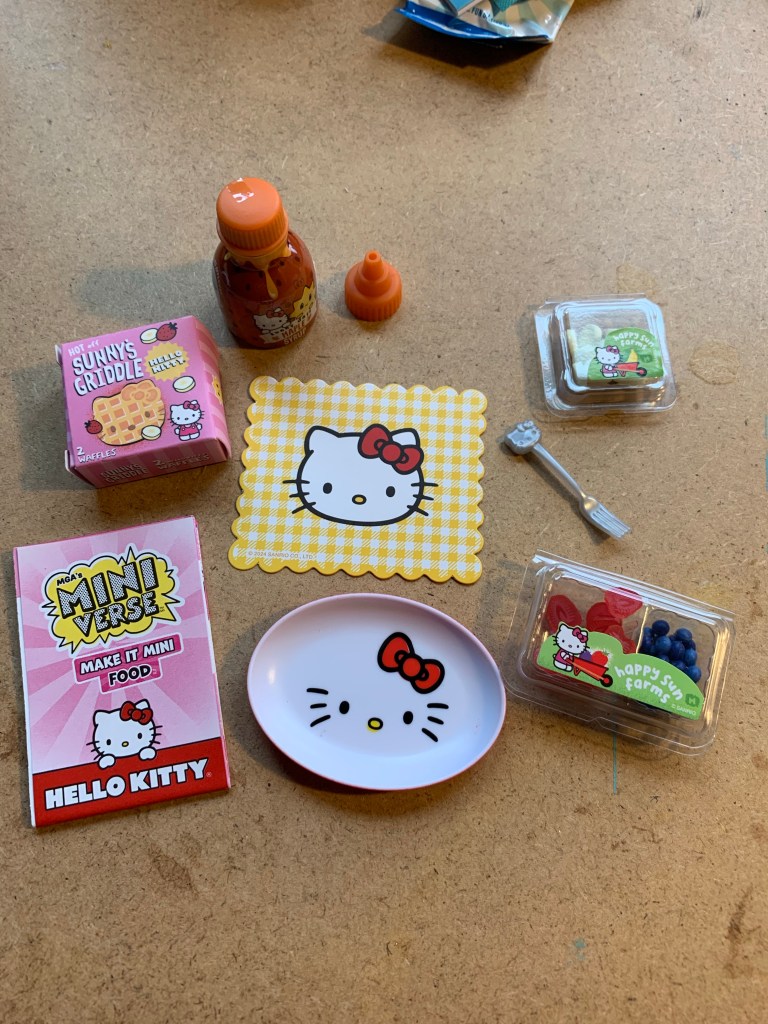

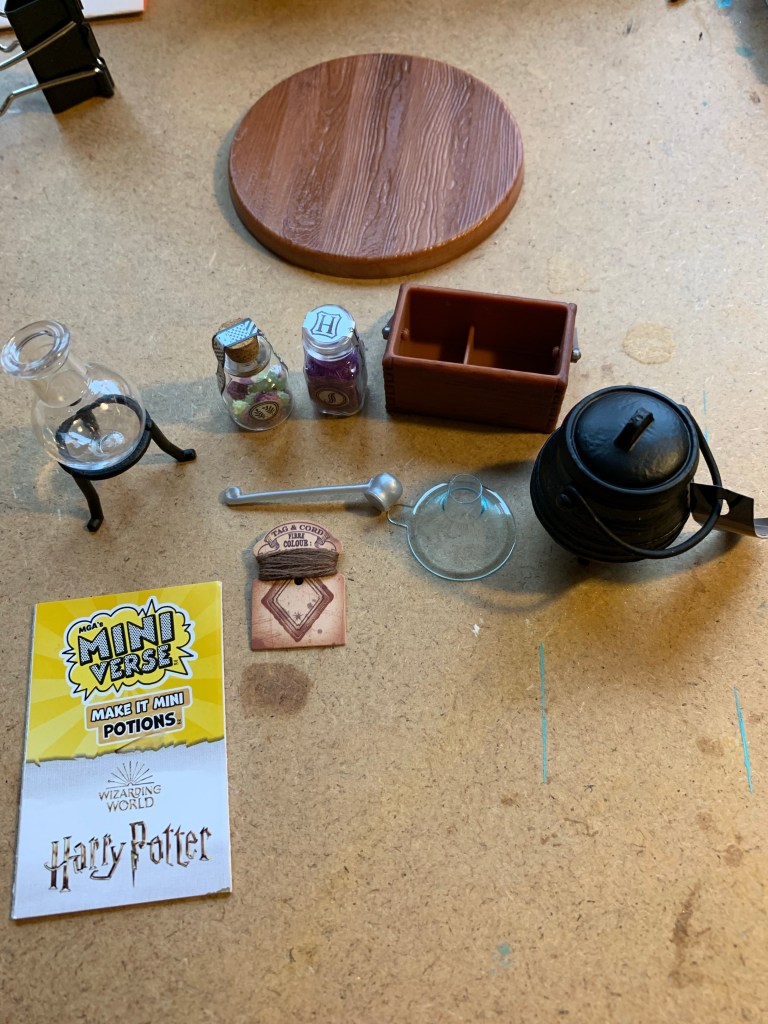

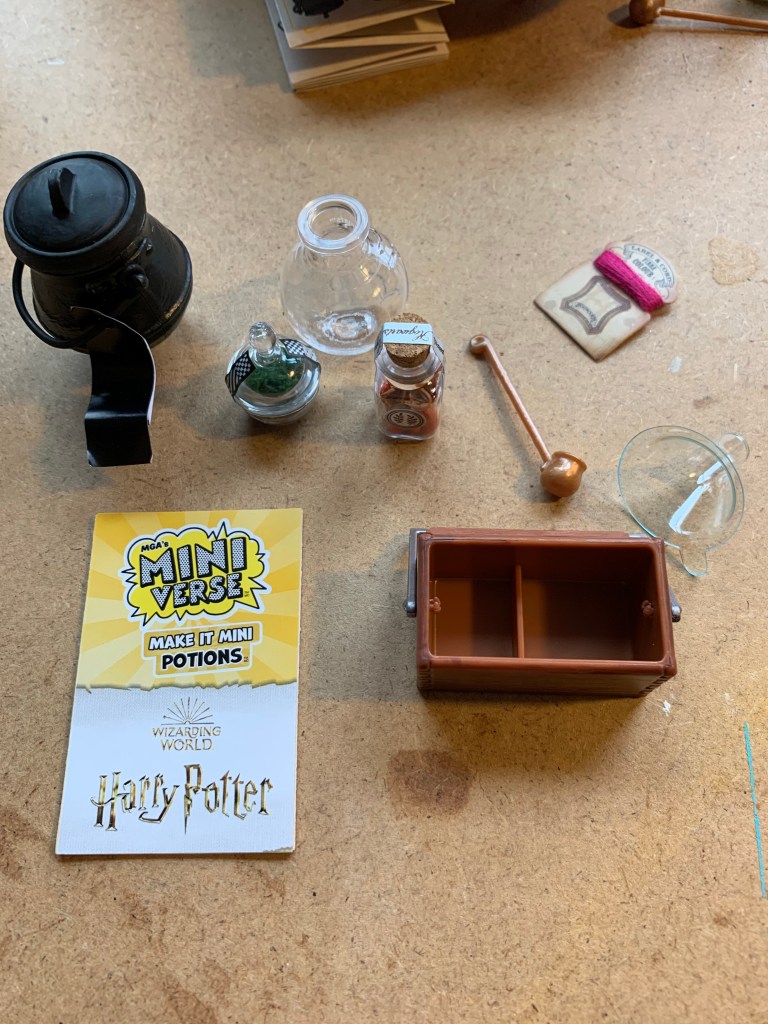
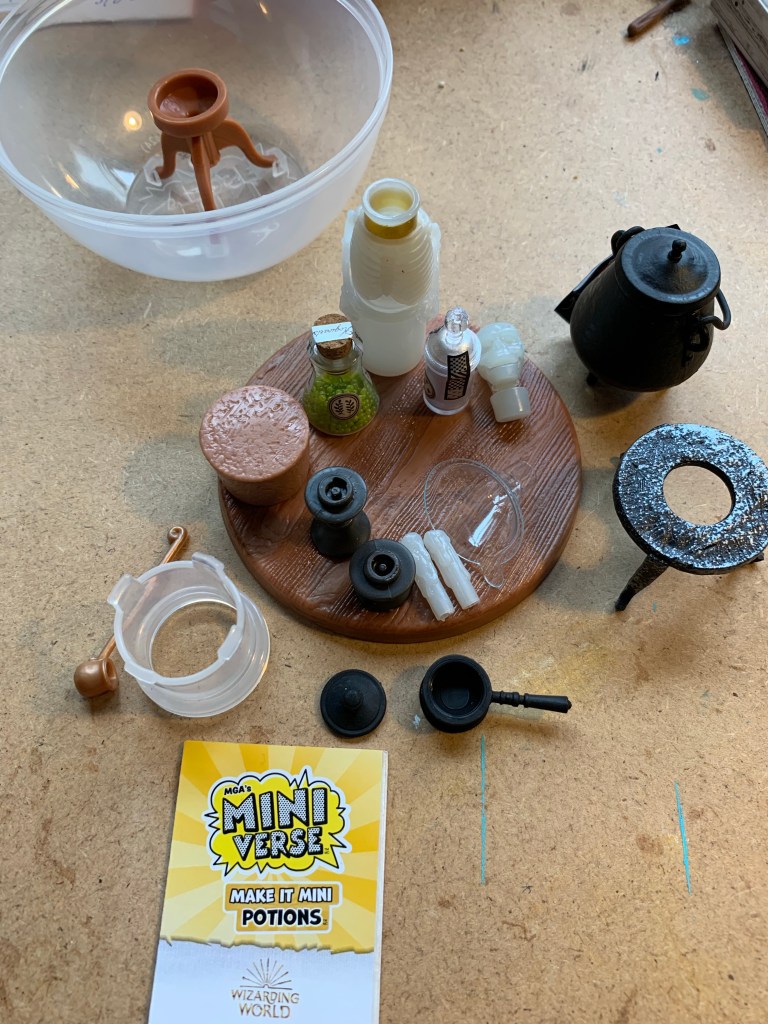
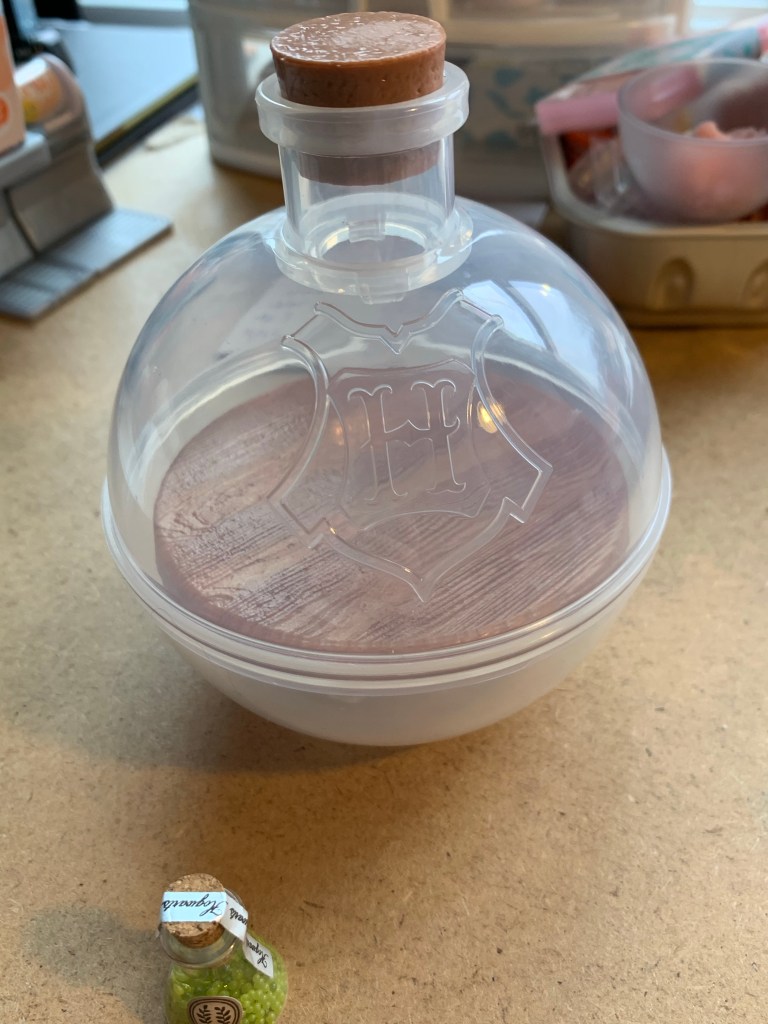
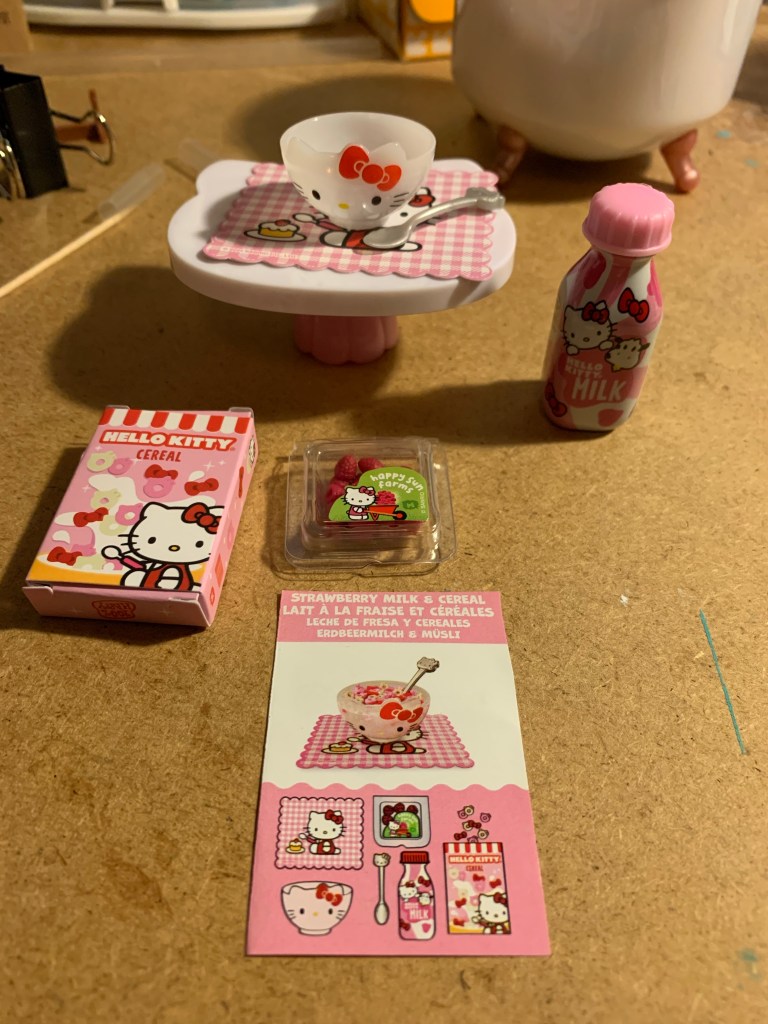
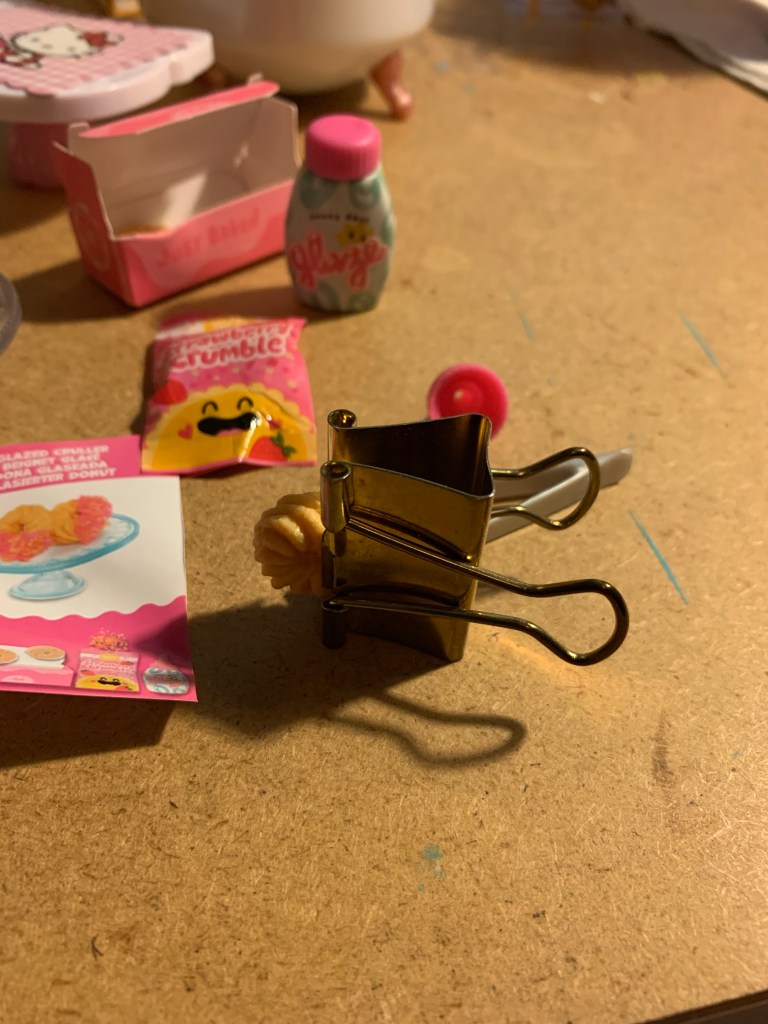
The supplies from the Harry Potter sets are adorable! The tiny containers and wood looking tables are my favorite! I made sure to keep some of the ingredients for other projects!
Crafty Pic Catch Up! (6)
The swords are mended, though obviously not the best looking. I’m actually trying out another sword with my uv light now to see if that cures it completely. Will, of course, let y’all know!


Keep it crafty till next week!
Crafty pic catch up! (5)
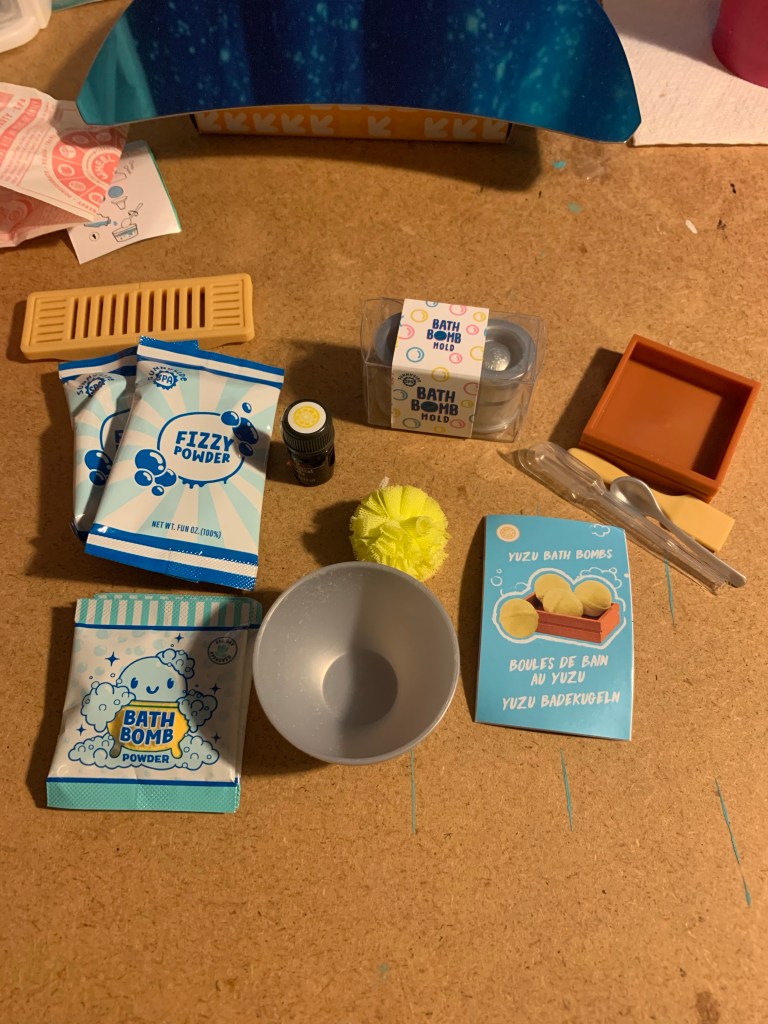
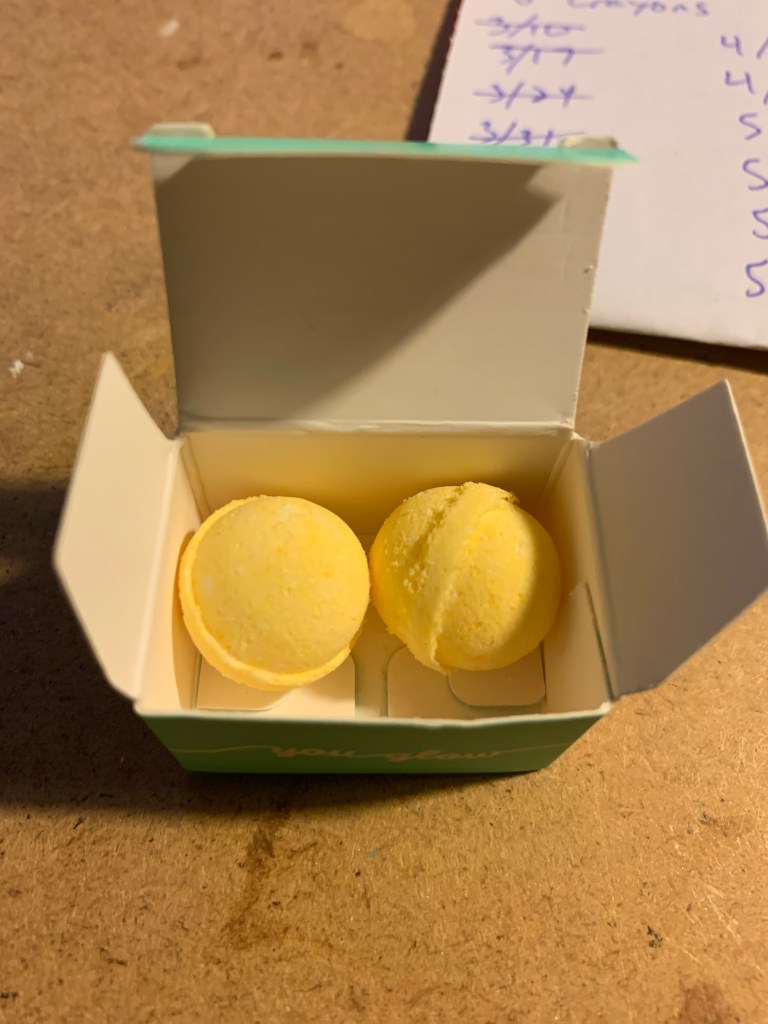
These spa sets are so fun but since they’re practical and can actually be used (obviously I don’t want to) I need to find a way to seal them.
Resin is the obvious choice, but I’m concerned with particles falling off while putting the resin on. And how to do that in the first place.
Keep enjoying God’s blessings!
See ya later!
Crafty pic catch up! (4)


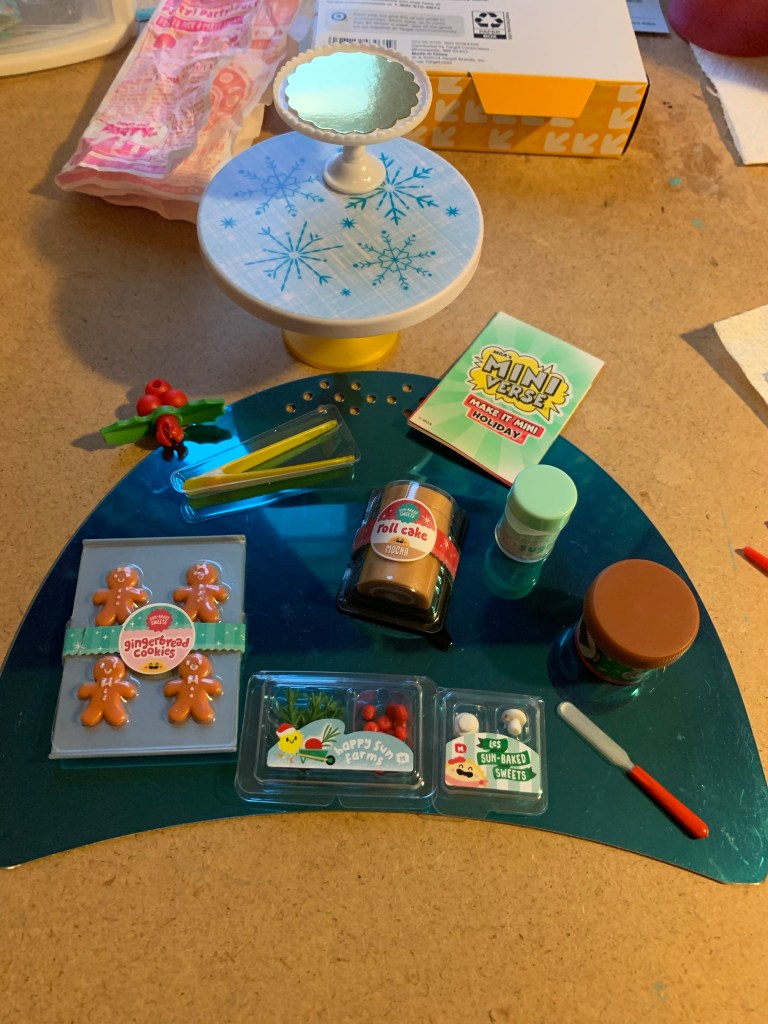

I didn’t use the gingerbread men because the pics of Yule logs I found online never seemed to have them and I figured I’d keep them for something else.
Really liked how this came out and even had a duplicate show up later!
Have a fantastic week everyone!
Read a good book! Or THE Good Book!
Crafty pic catch up! (3)

Instructions said to use both bags of soap mix and I did, but it ended up being too much for the mold so I had to unmold some before cooling them. It’s why there’s some that look better than the rest.
The mold is silicone though so I’m going to clean it and try it with resin!
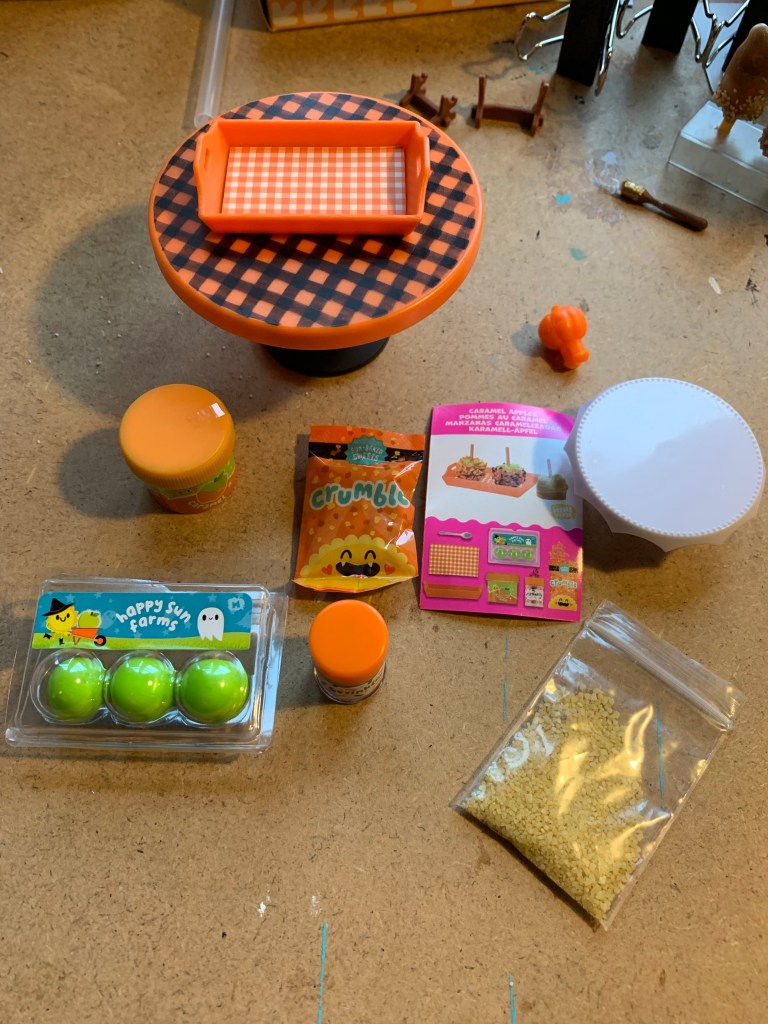
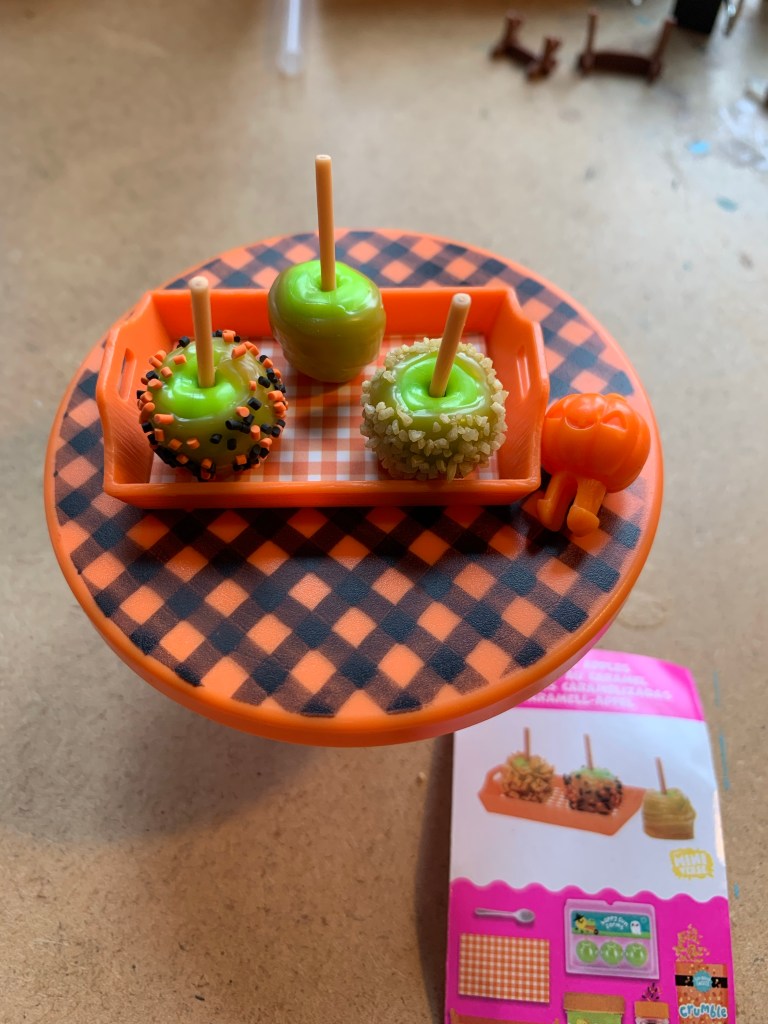
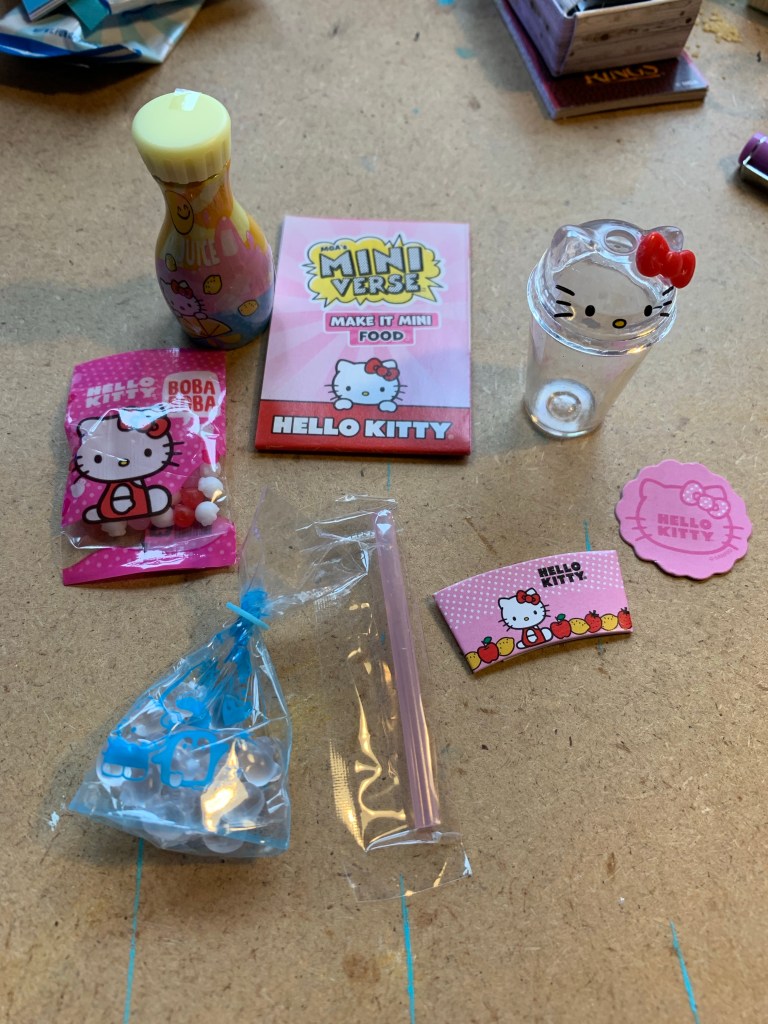
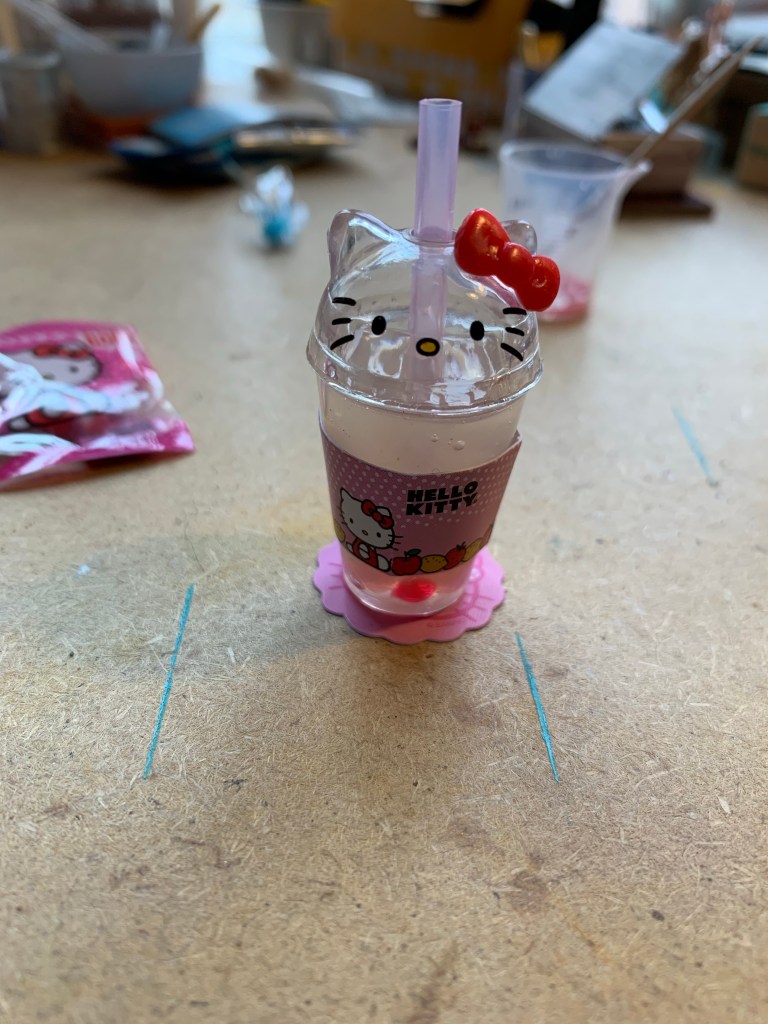
I used an extra table to set the apples on to cure the first time so I’d get that flat bottom look. I also used the granola stuff from the bear popsicles instead of opening the pieces that came with this set.
I’ve been doing that with quite a bit. Using what’s already open just makes sense.
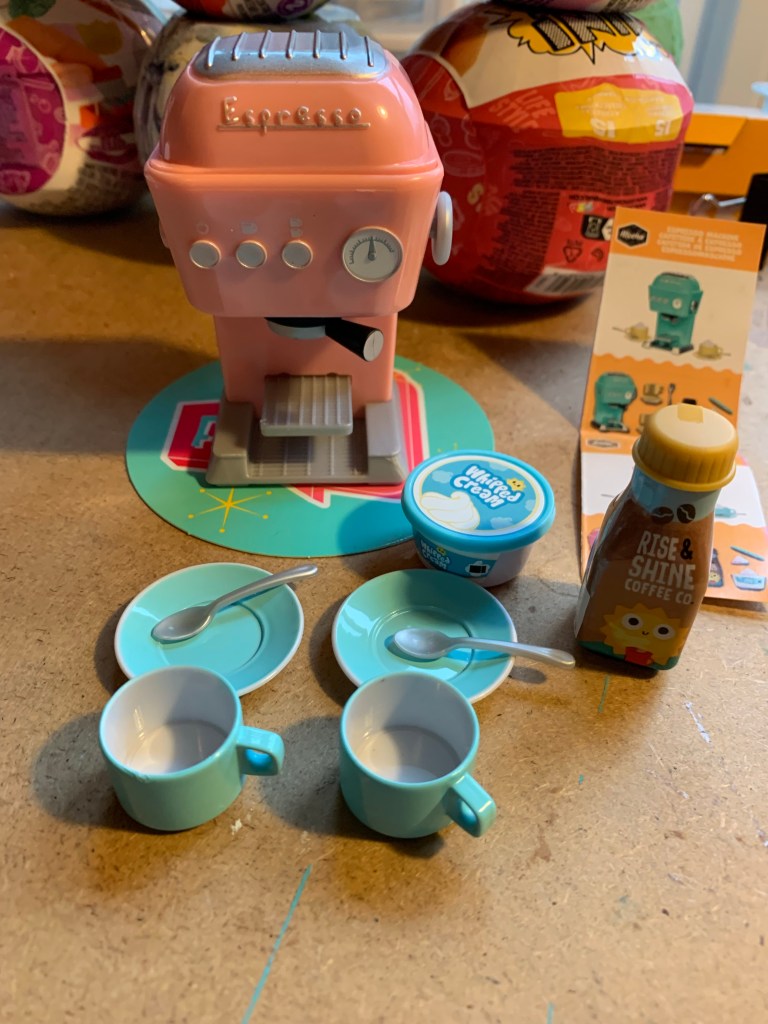
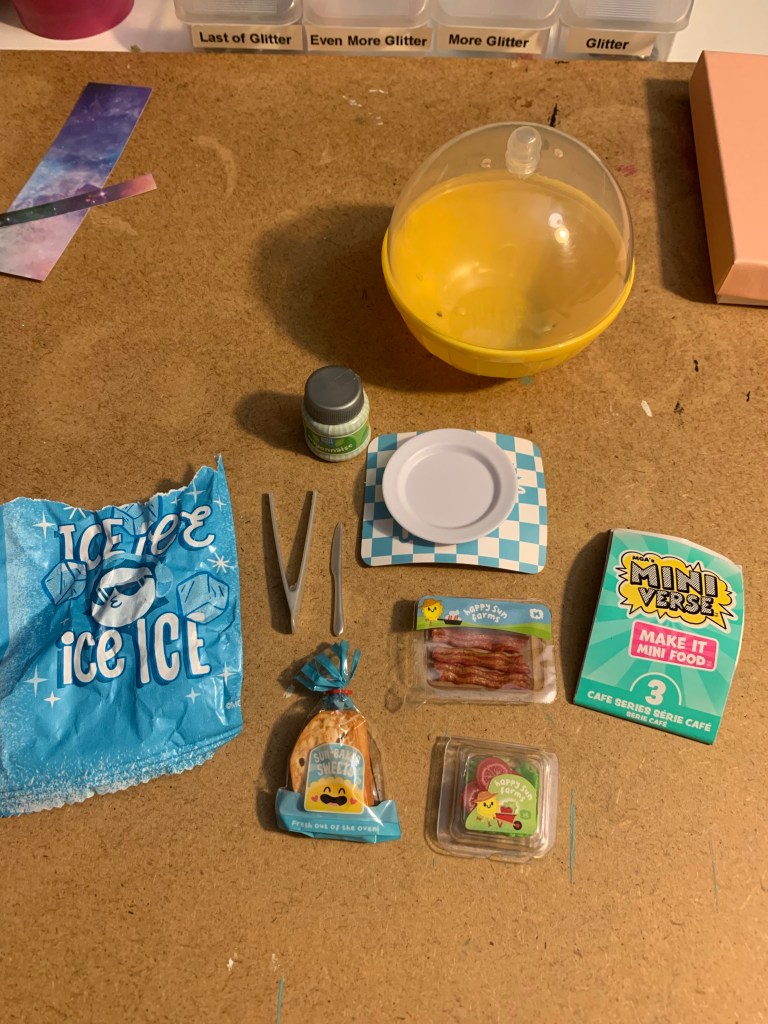
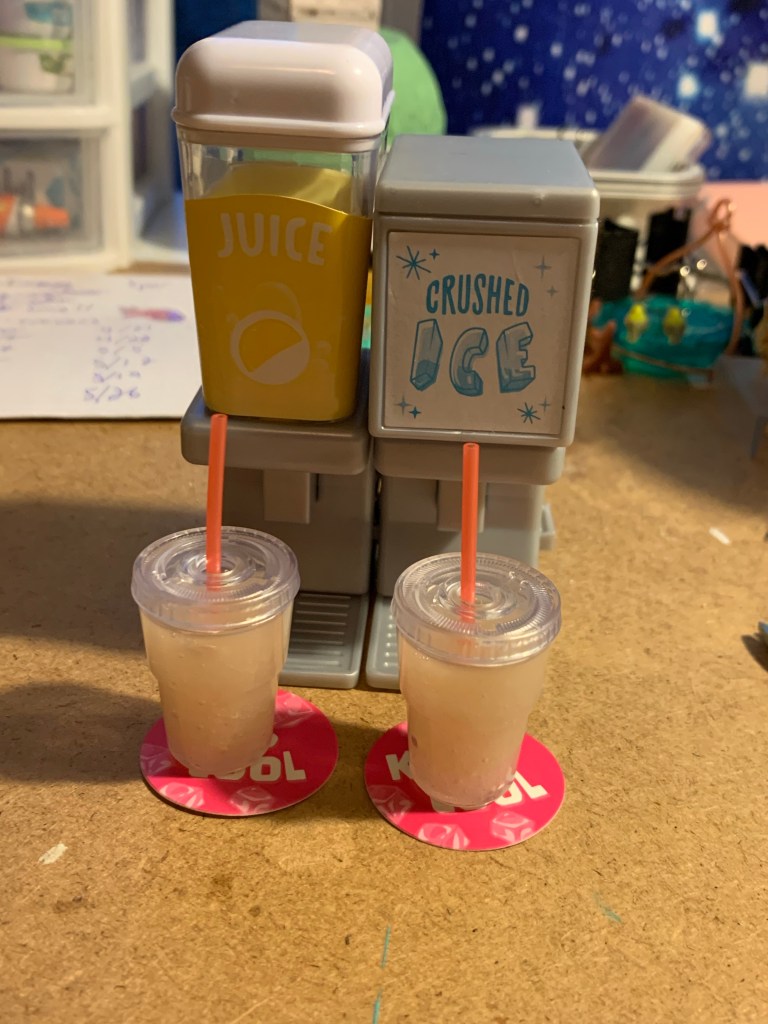
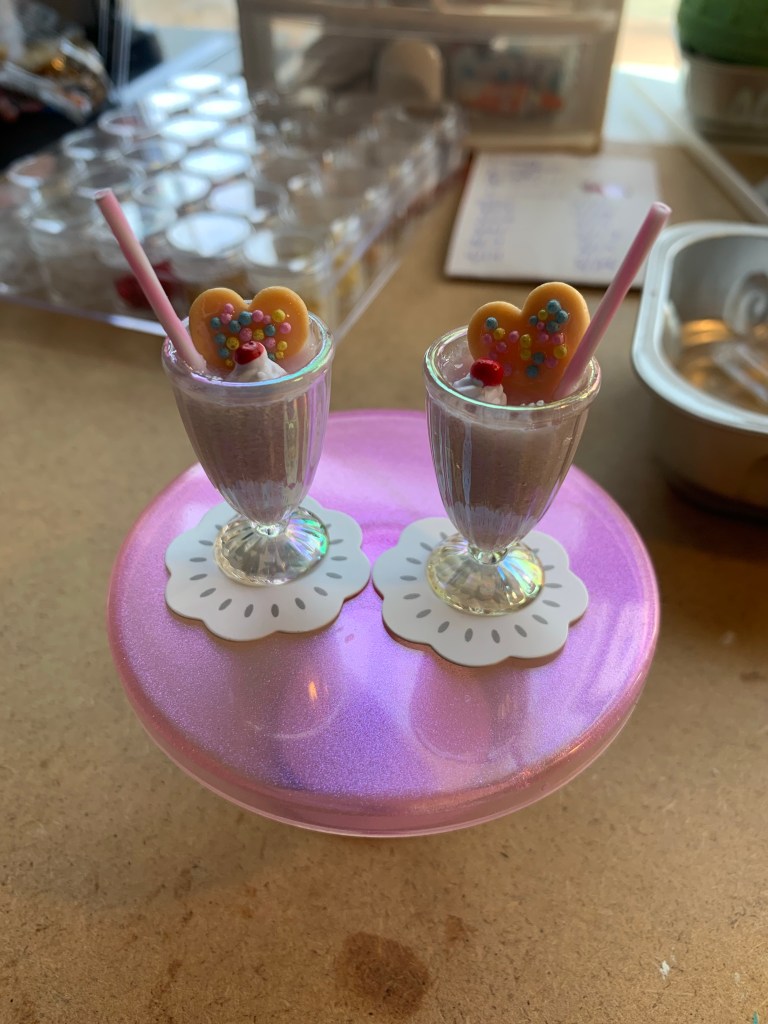
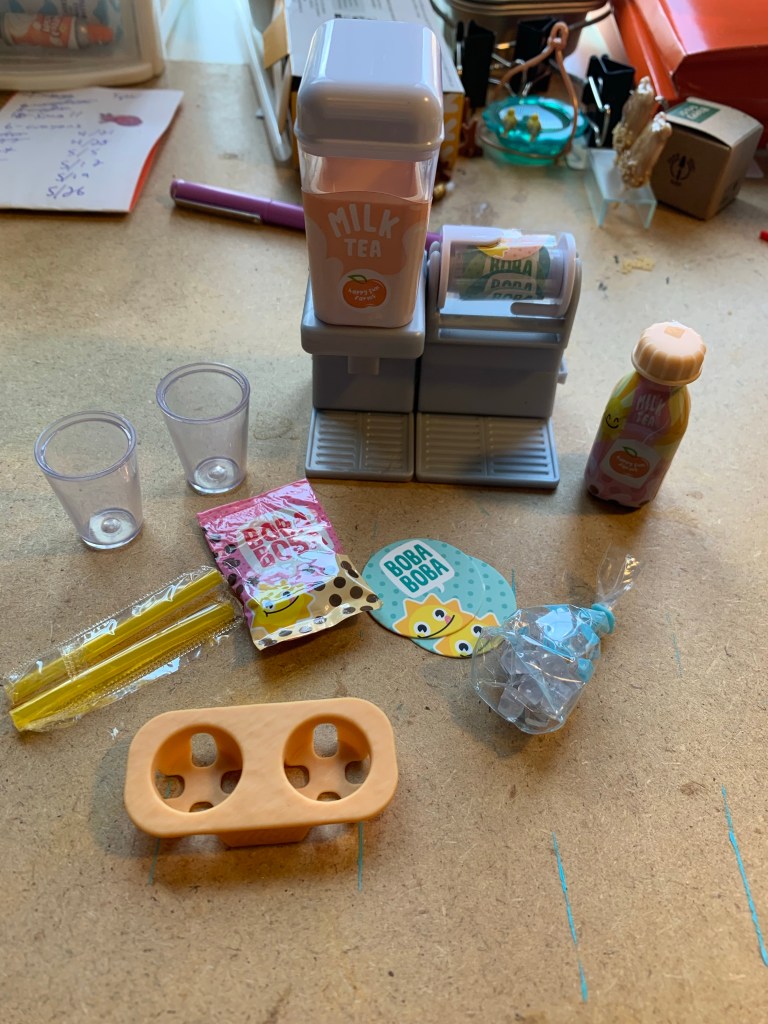
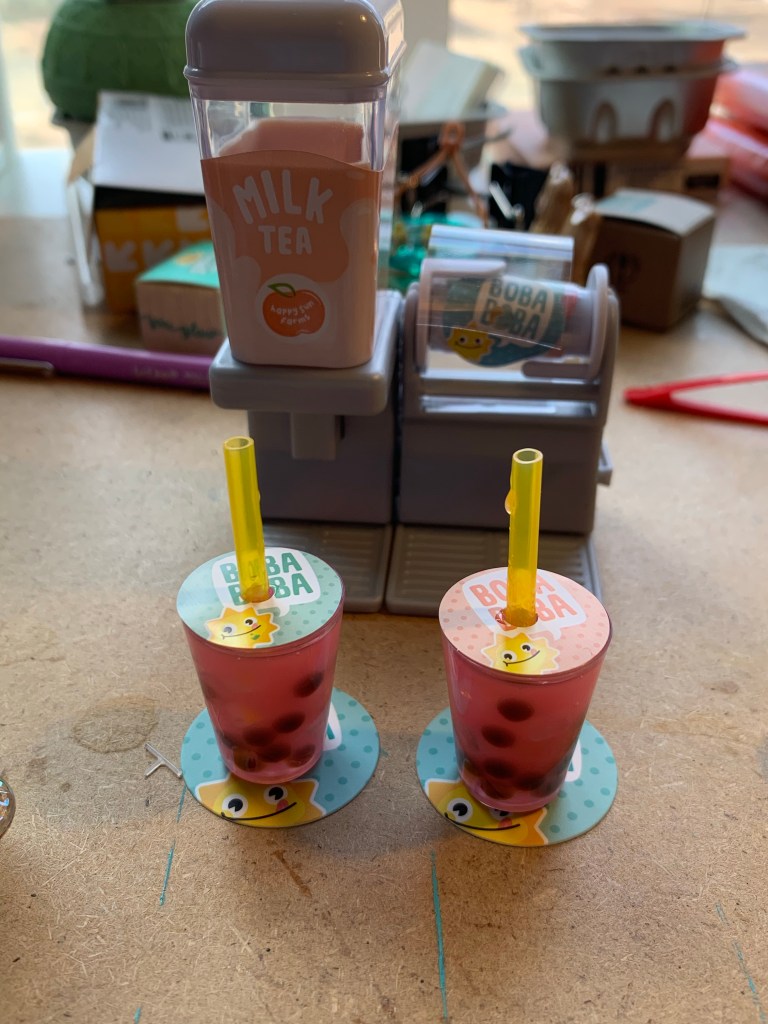
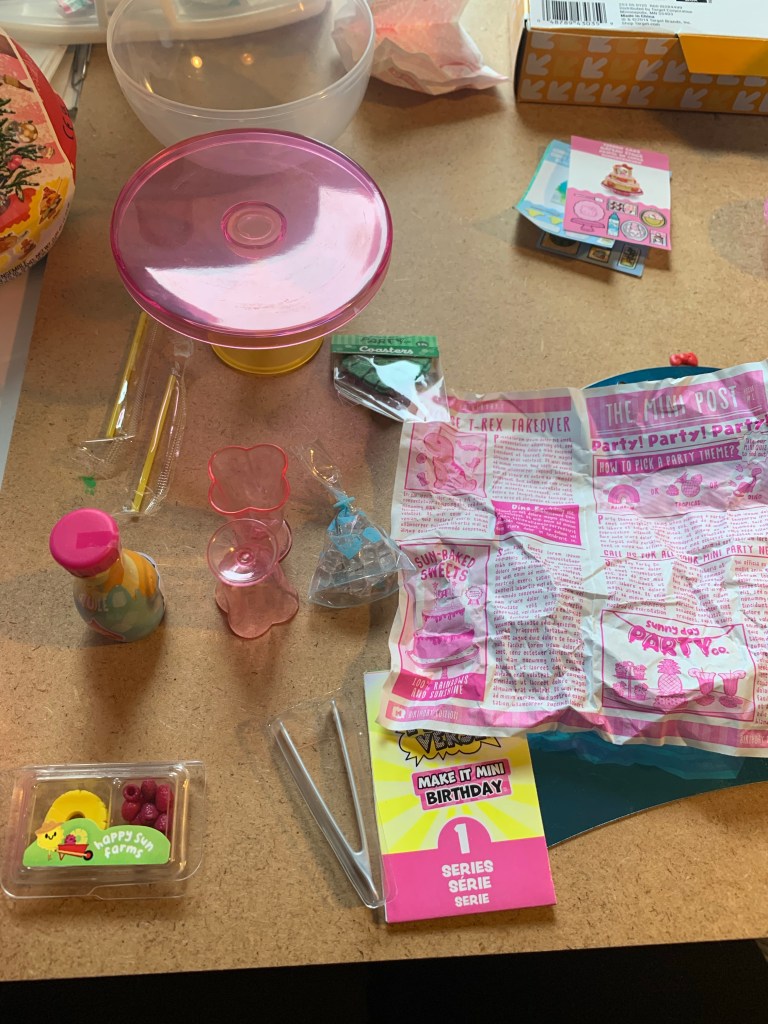
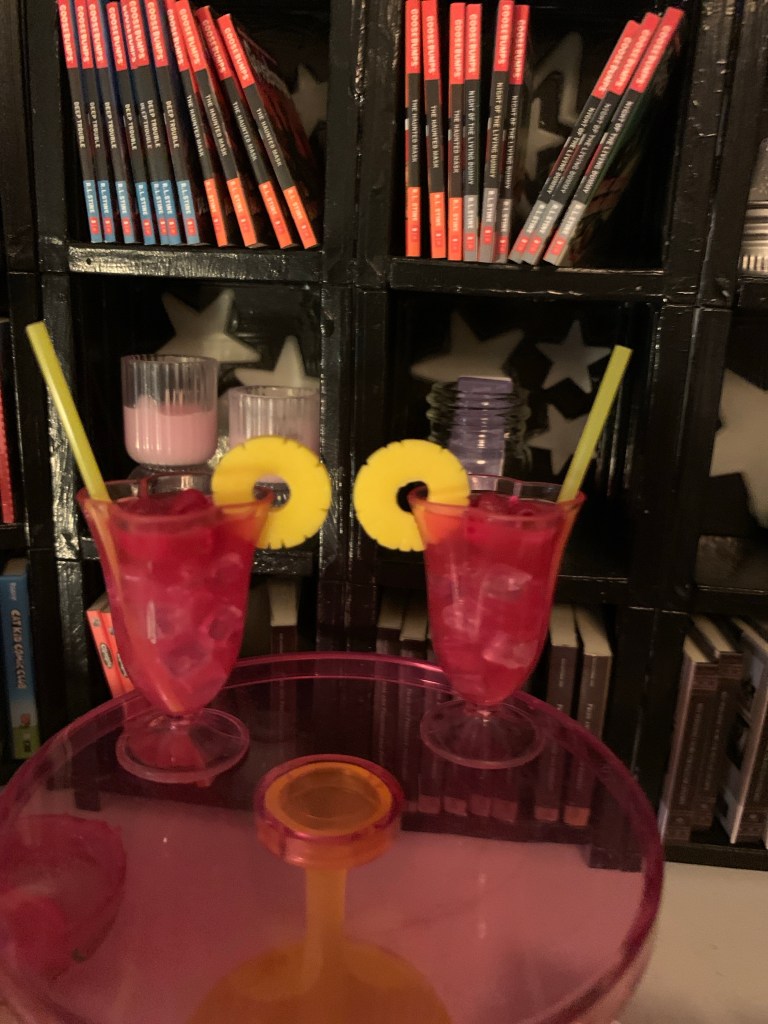
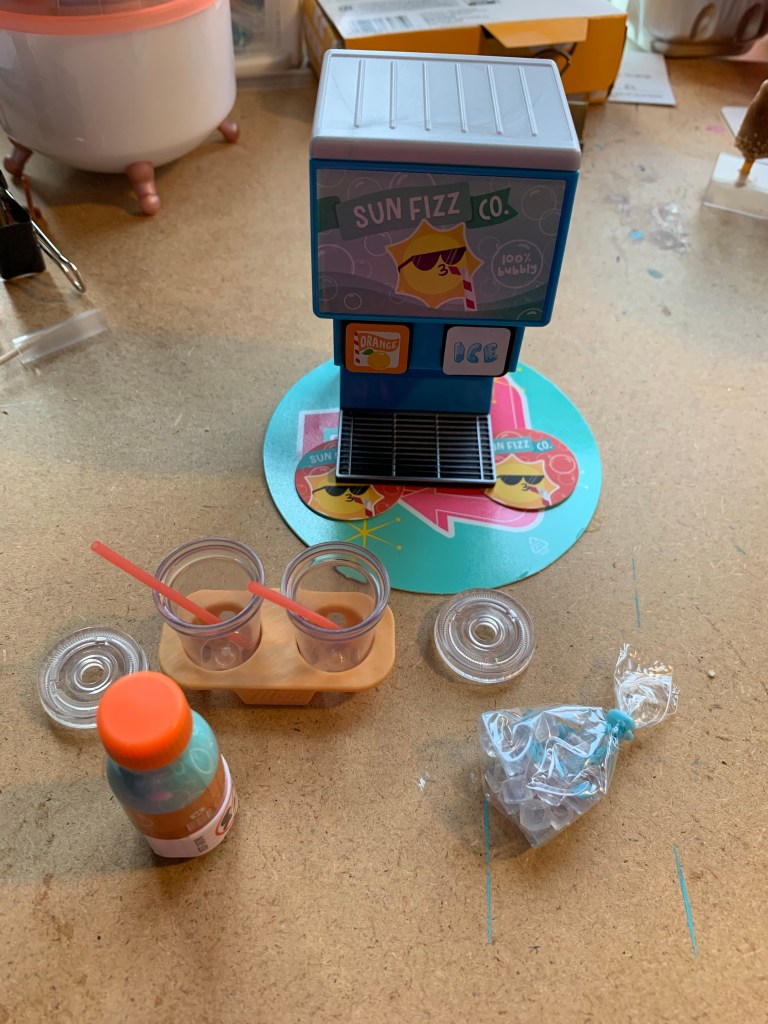
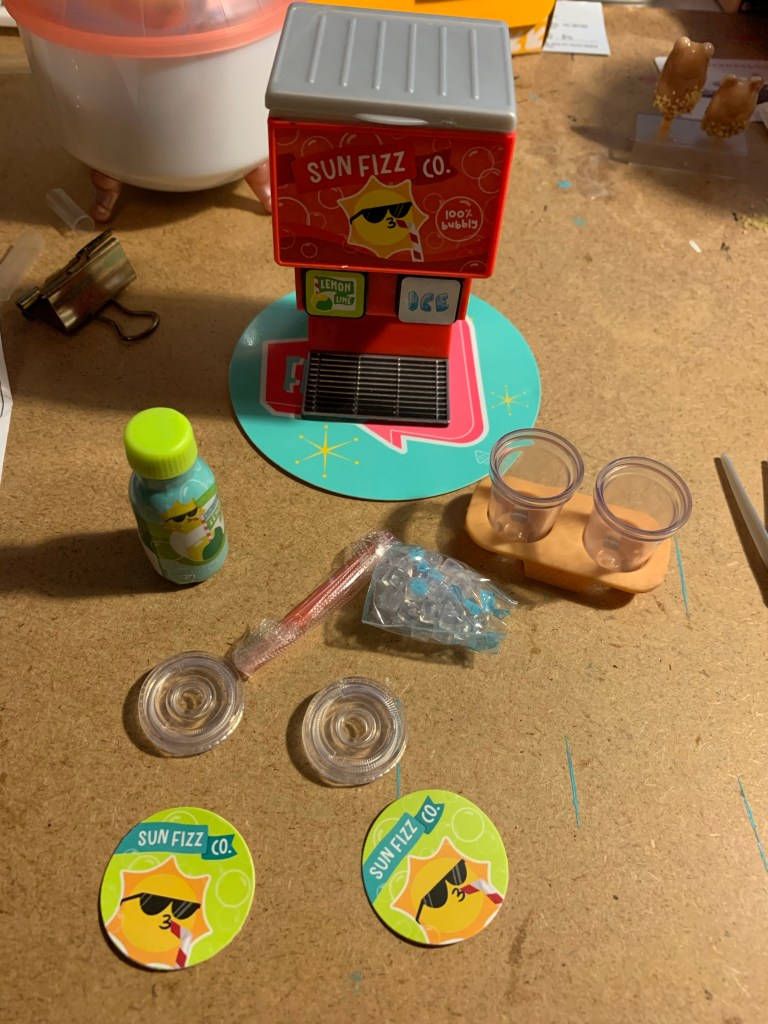
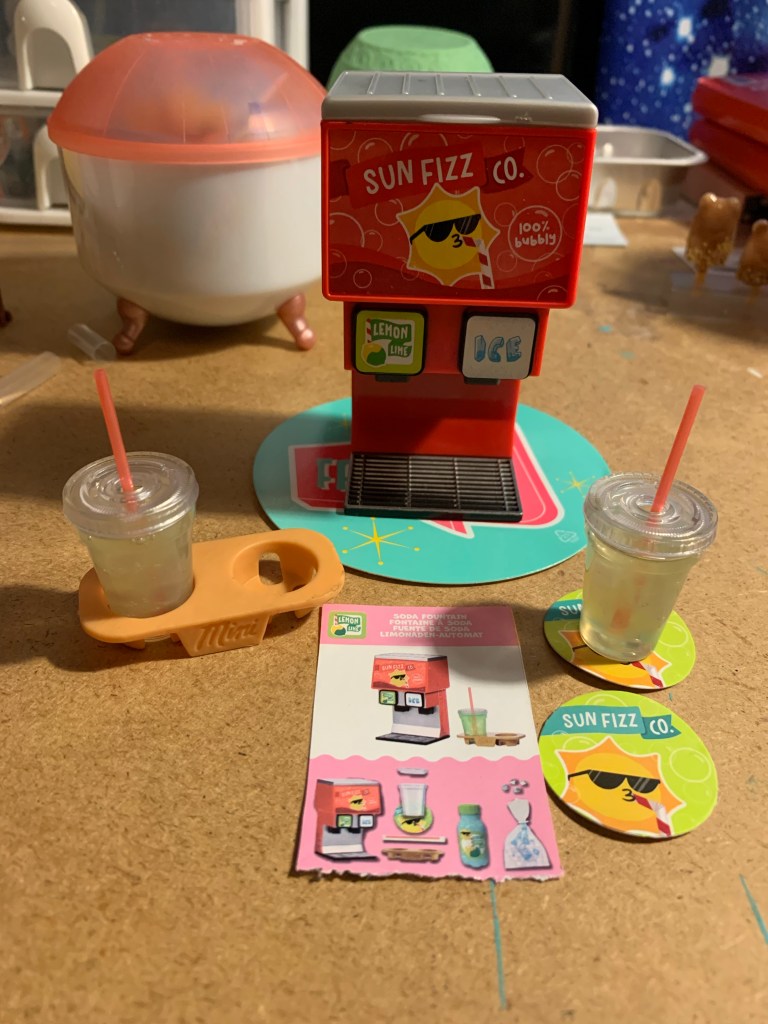
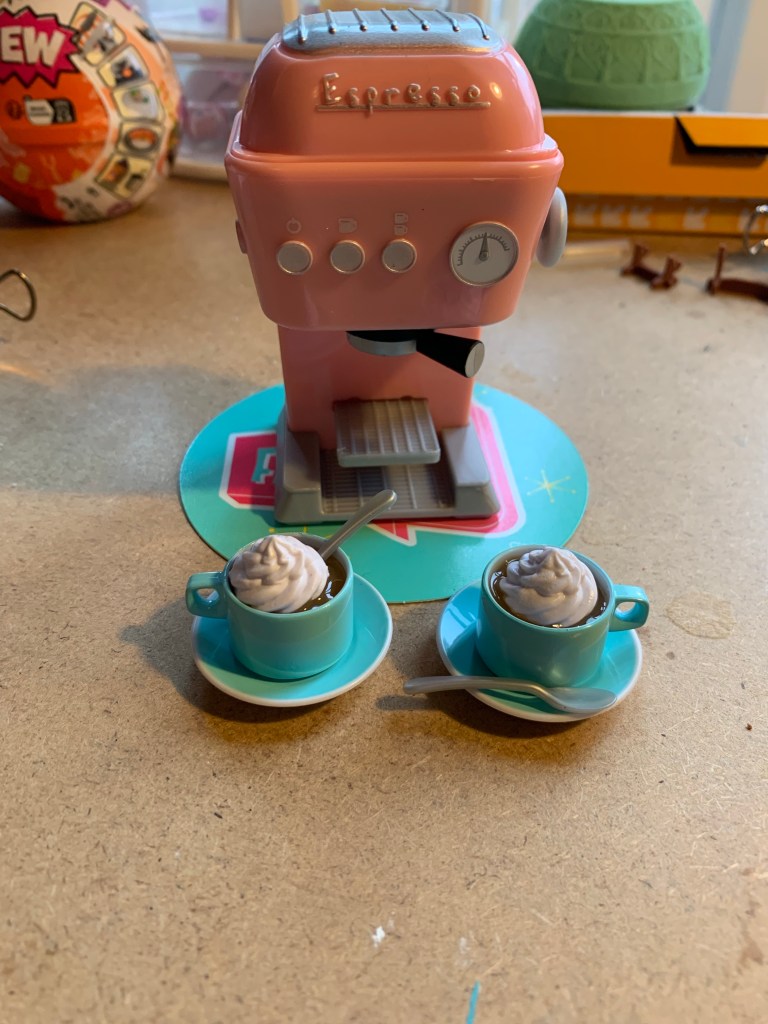
These actually work!
You put the ice and resin in the top and it’ll dispense them into the cups!!
Only problem is that the resin is using gravity alone and so it takes FOREVER!
I haven’t been using the actual machine since the first one, since they’re mostly for collecting and entertainment the fact they work is enough for me!
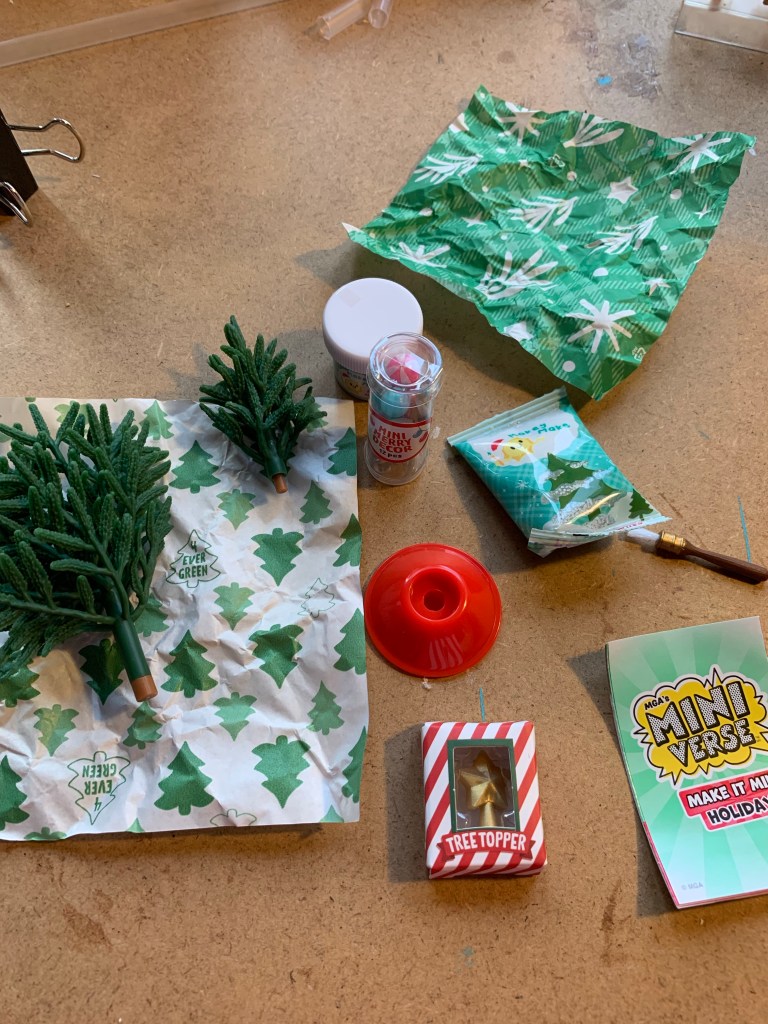
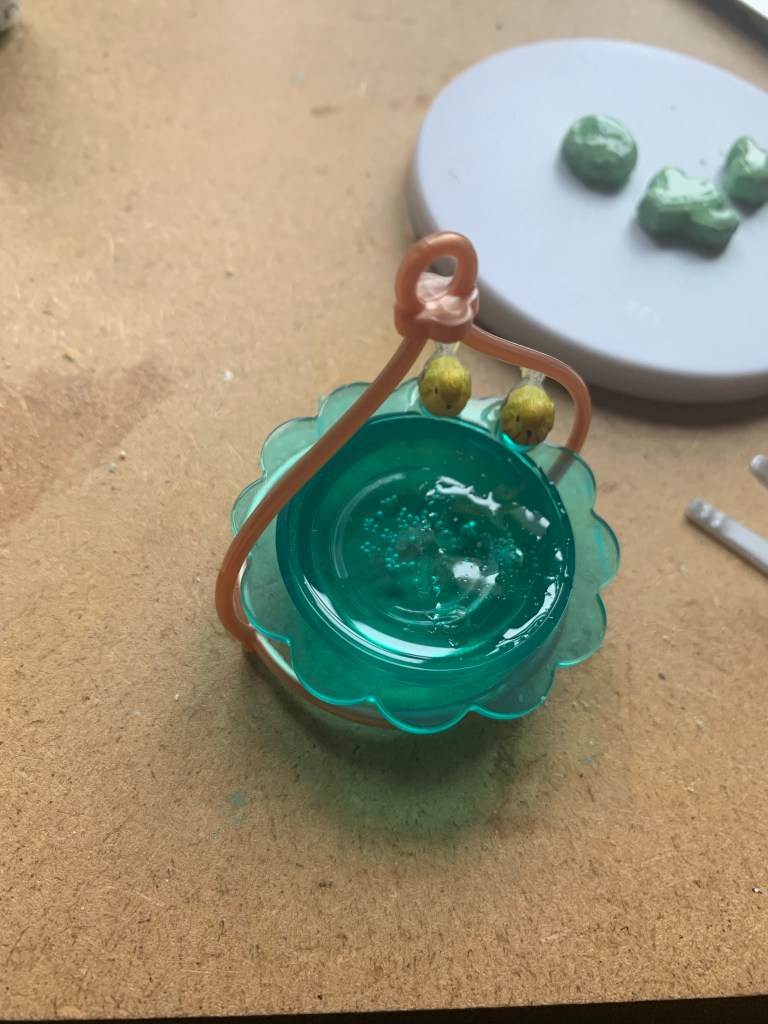
Probably could have used more resin for this, but I didn’t realize how obvious it would be through the vase.
Still more to go!
Stay safe and don’t forget to thank God for all the things!
